How to Fix a Dometic Window Roller Blind
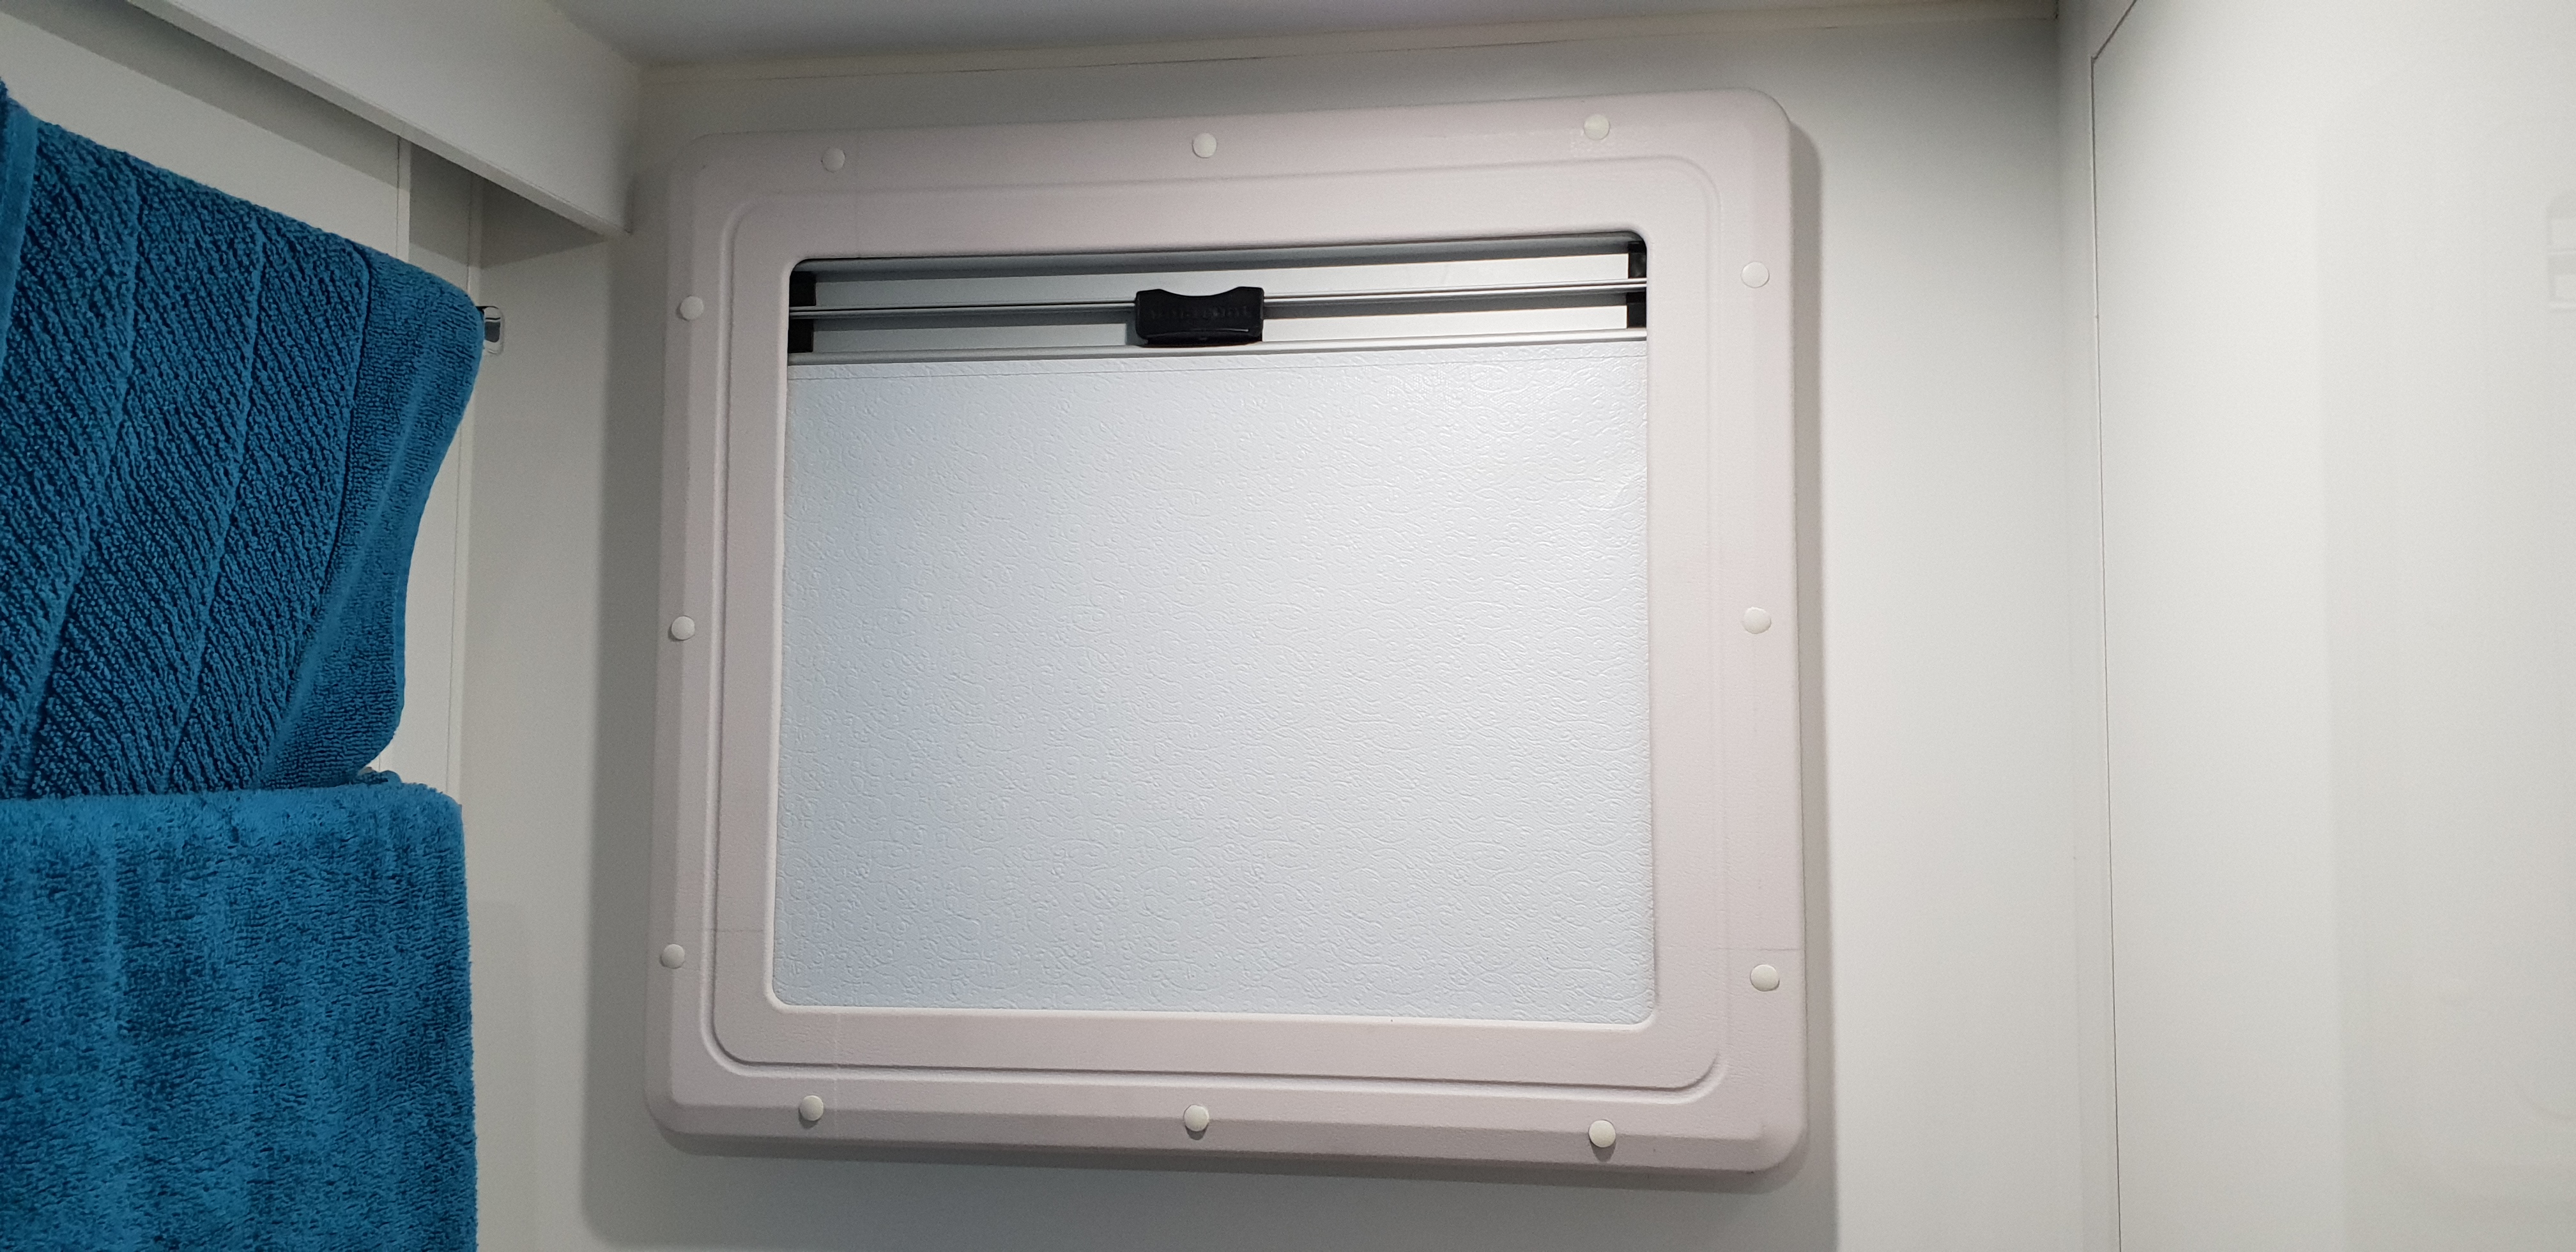
Anyone who has the Dometic push out windows on their caravan or motorhome will know that, while they are very convenient, they have a habit of binding up and, occasionally, the roller mechanism stops completely. This happened to the blind in our small Dometic window in our ensuite. I had heard that it was likely the spring inside the roller had broken and that the only solution was to replace the entire window as spare parts were not available. At the cost of around $400 to replace the entire window, I was a little miffed. This was the smallest window in our van. If this happened to one of the larger windows, it would be very expensive to fix.
I did a search on the internet for a solution however I couldn’t find anything that seemed to match our windows. I was about to give up when I found that these windows are indeed repairable and its extremely easy to do. This is a step by step guide to restoring tension in the roller blind of Dometic Alloy Chal Tinted Windows.
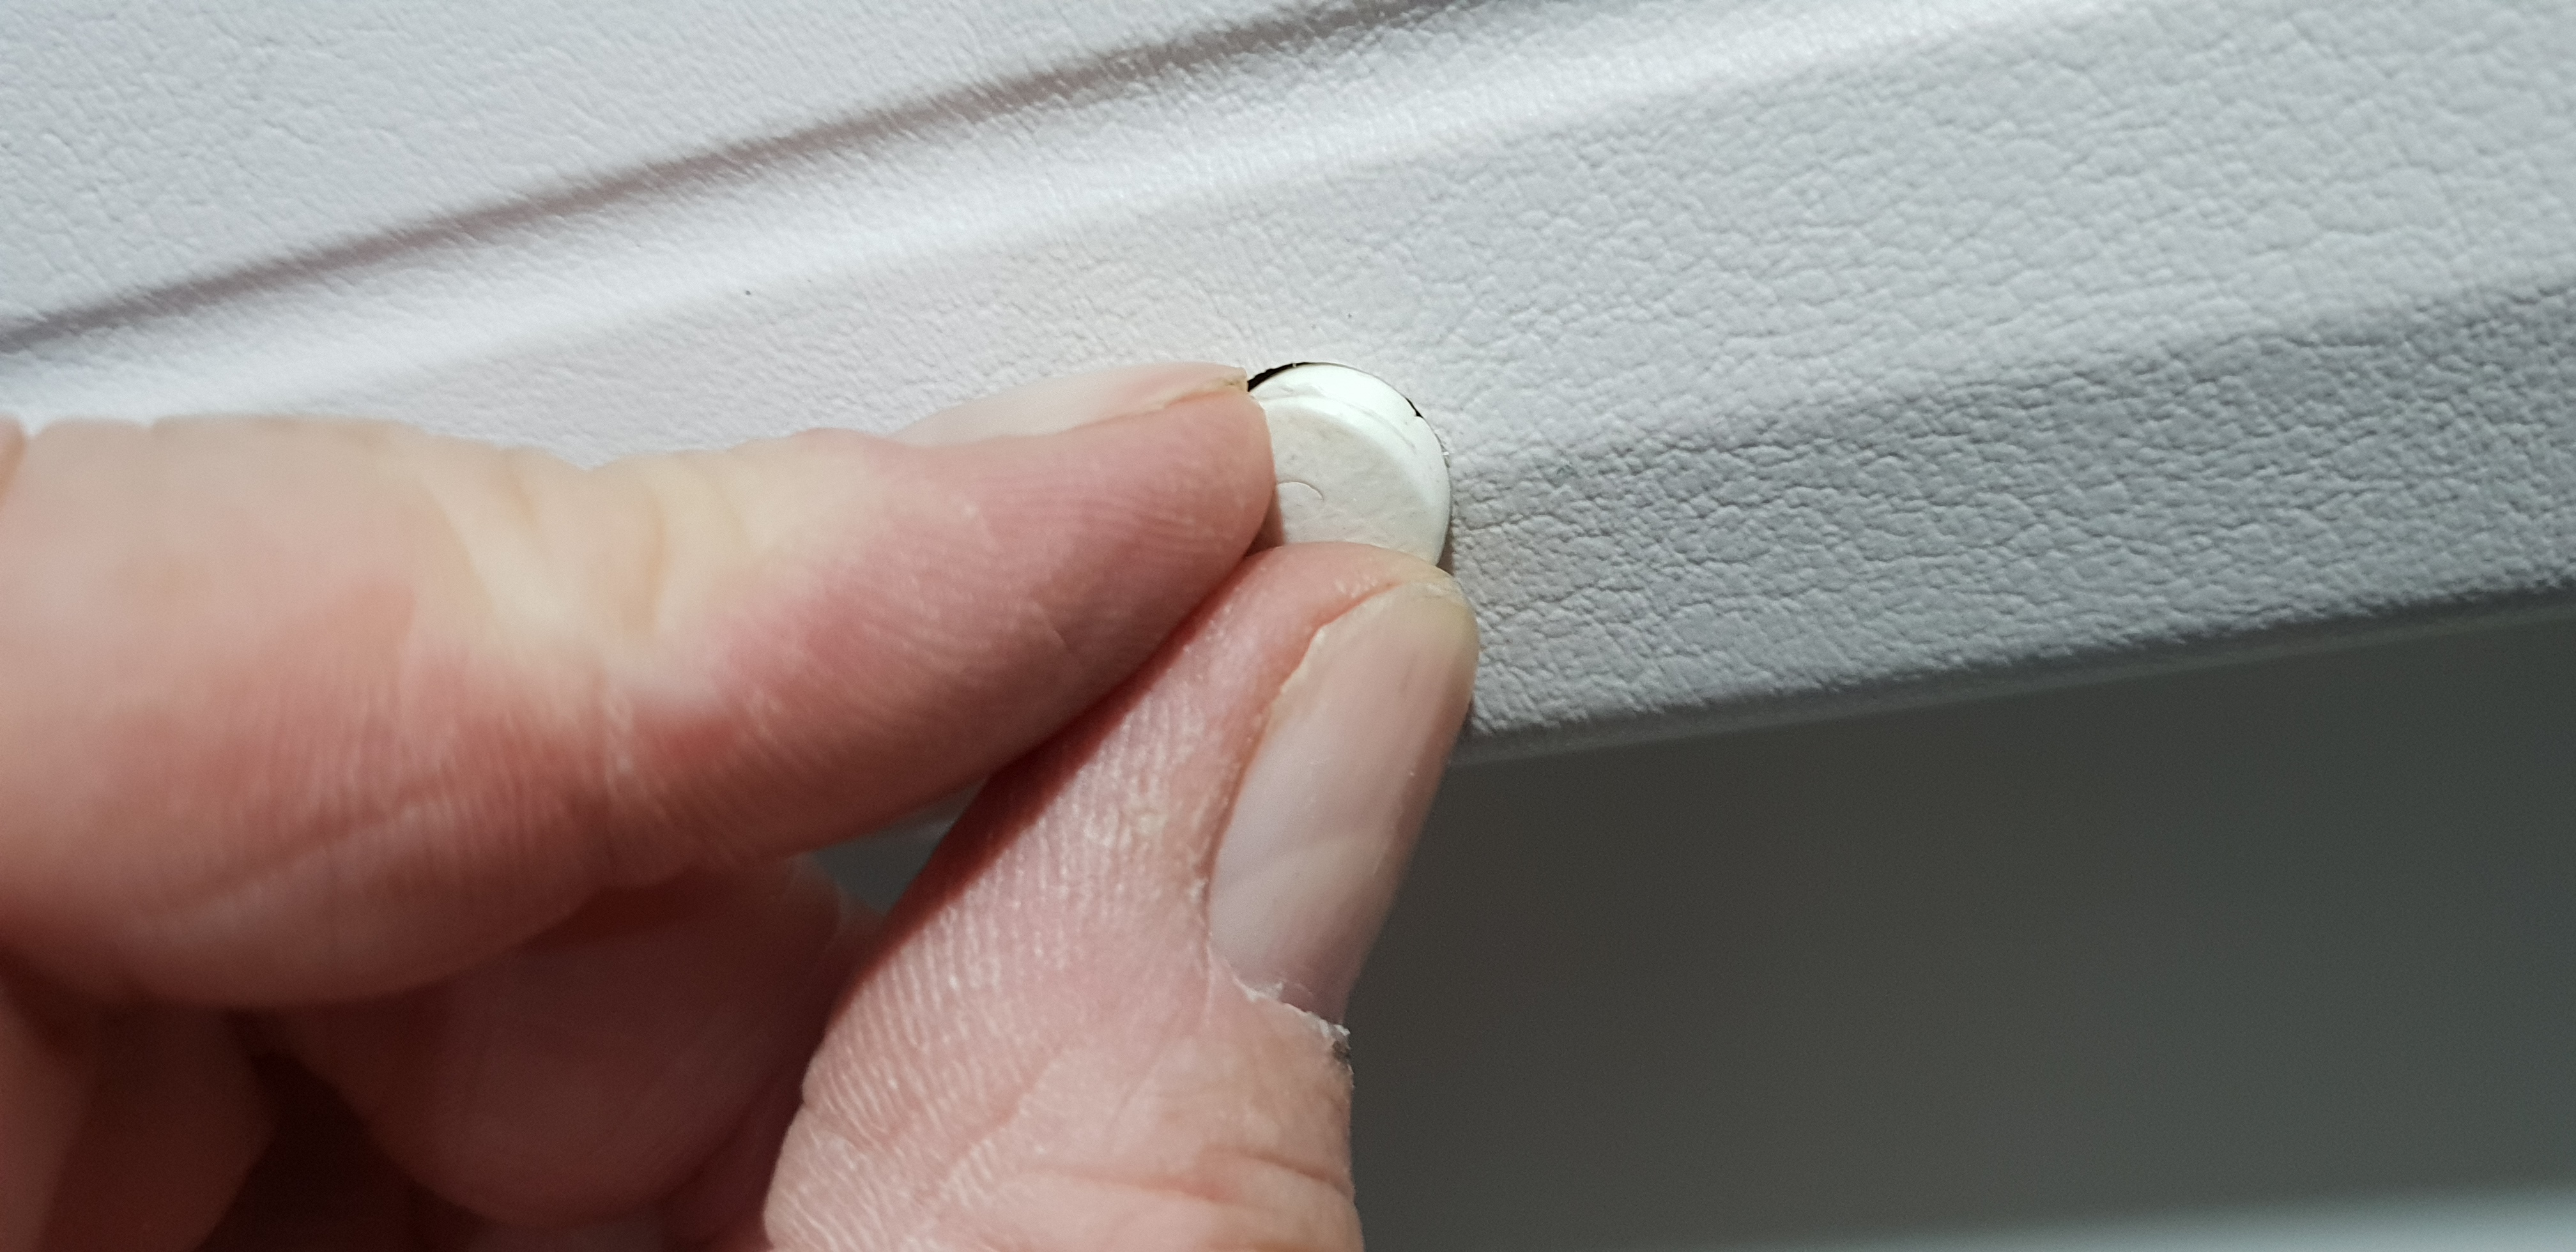
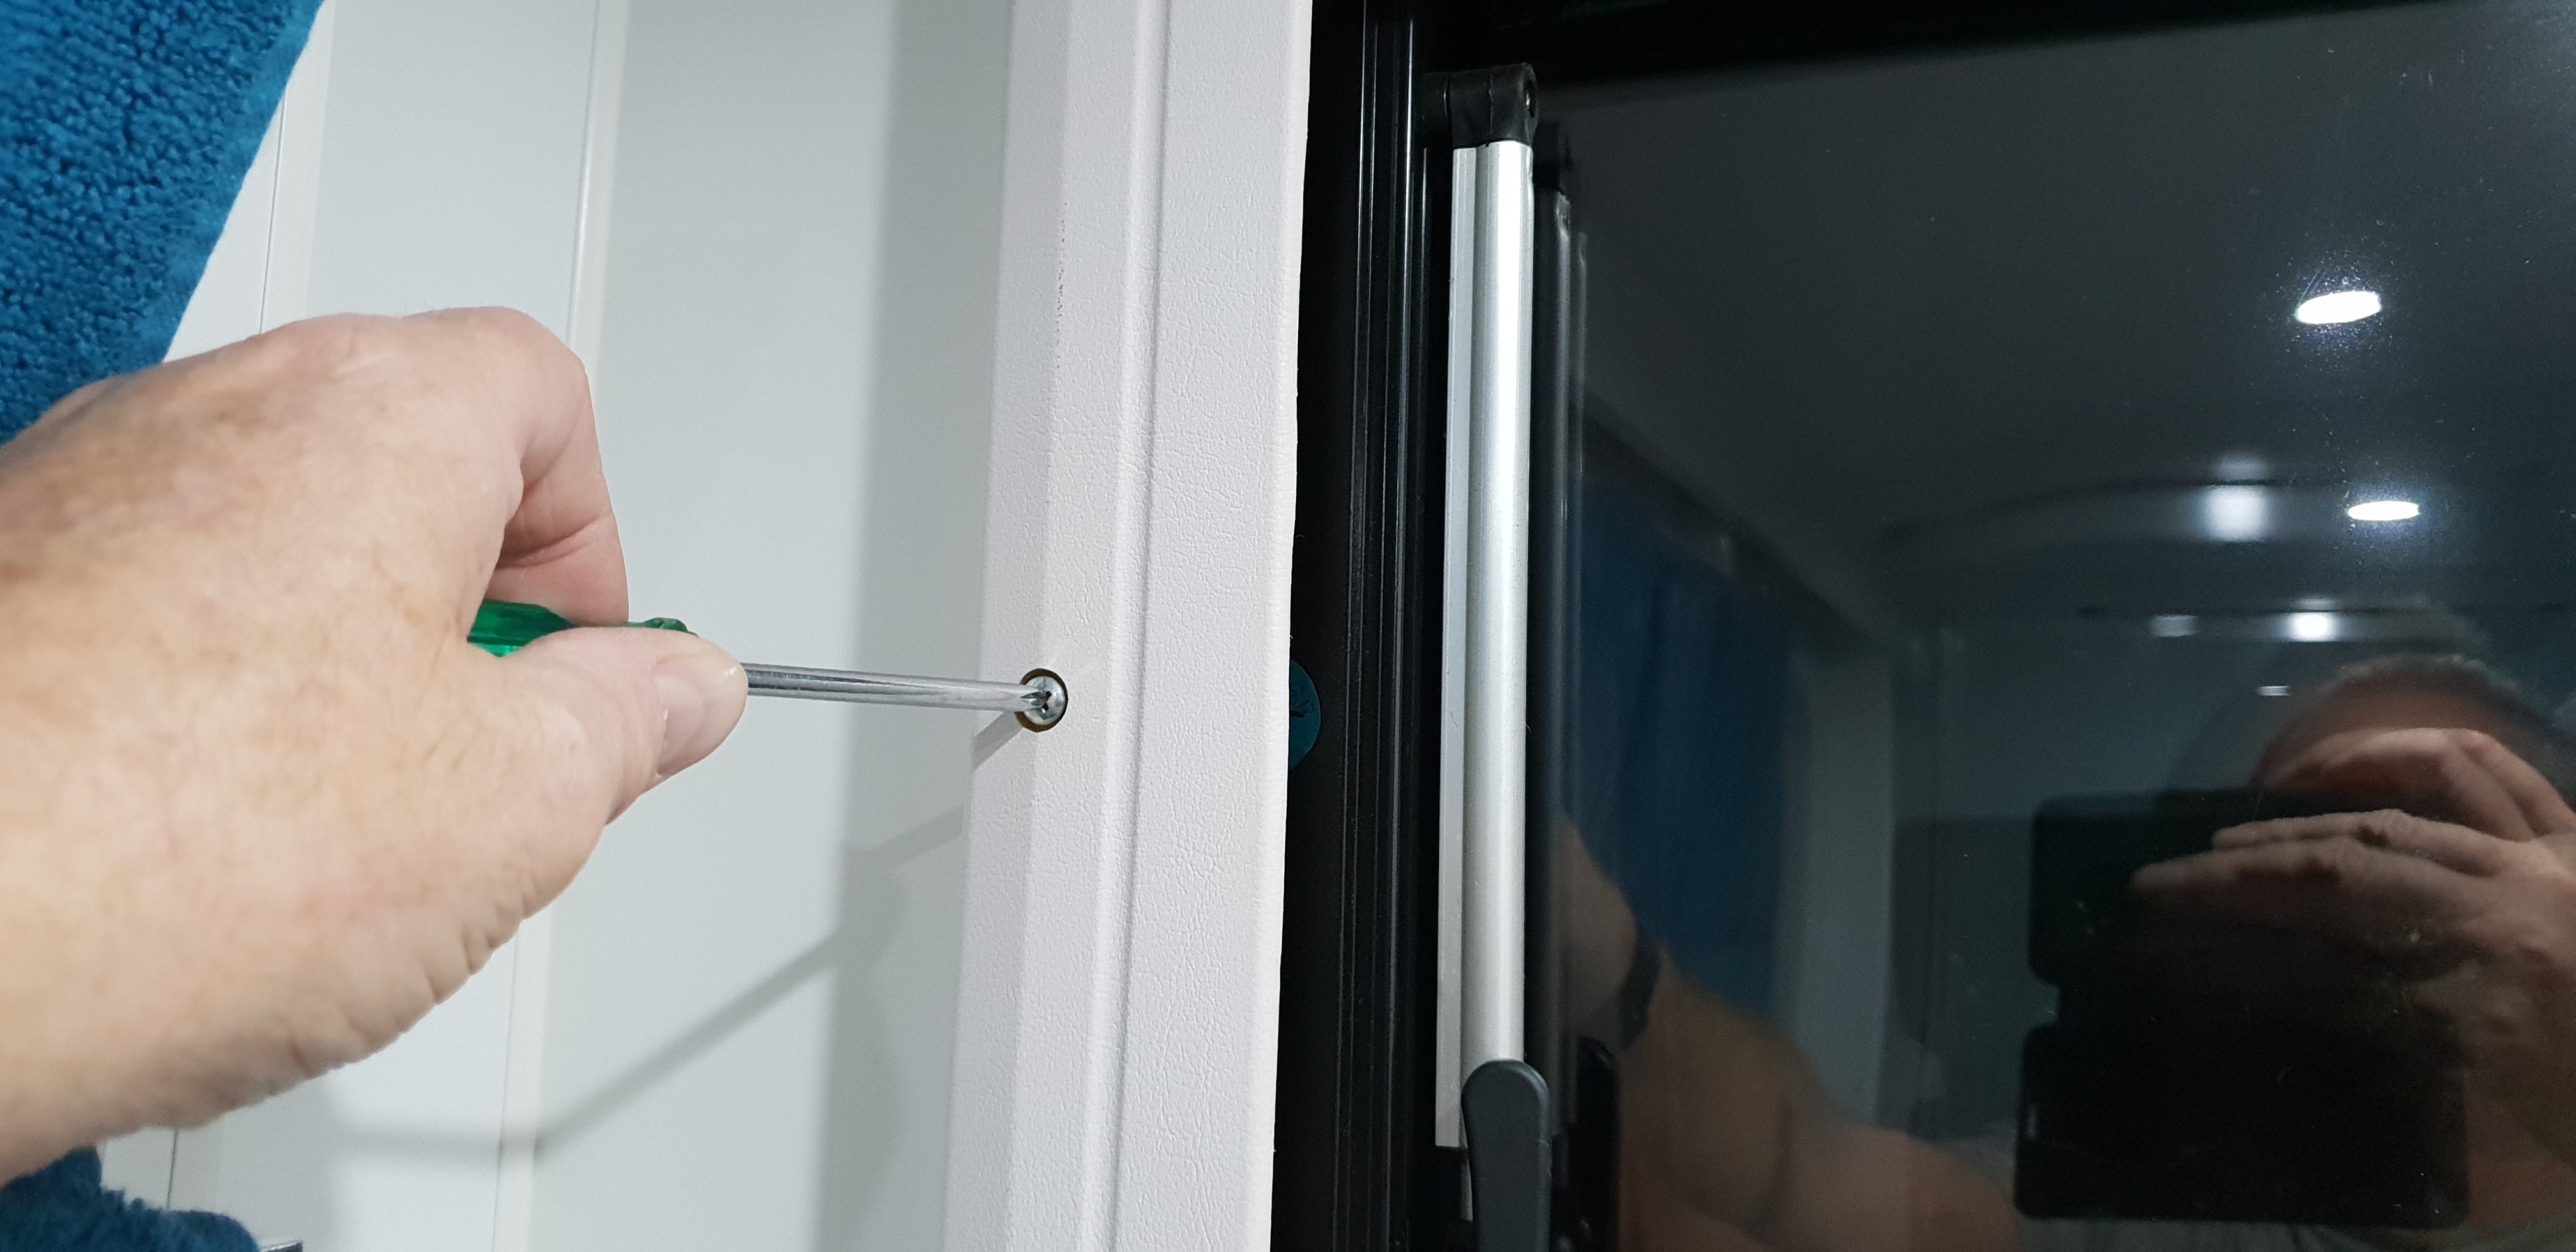
Step 1. Remove all the small plastic tabs to expose the screws that secure the blind assembly to the wall. Undo all the screws and store them and the tabs in a safe place. Remember to remove the screws from the bottom first and support the frame when removing the last screw from the top.
Step 2. Lift the frame off the wall and place on a table.
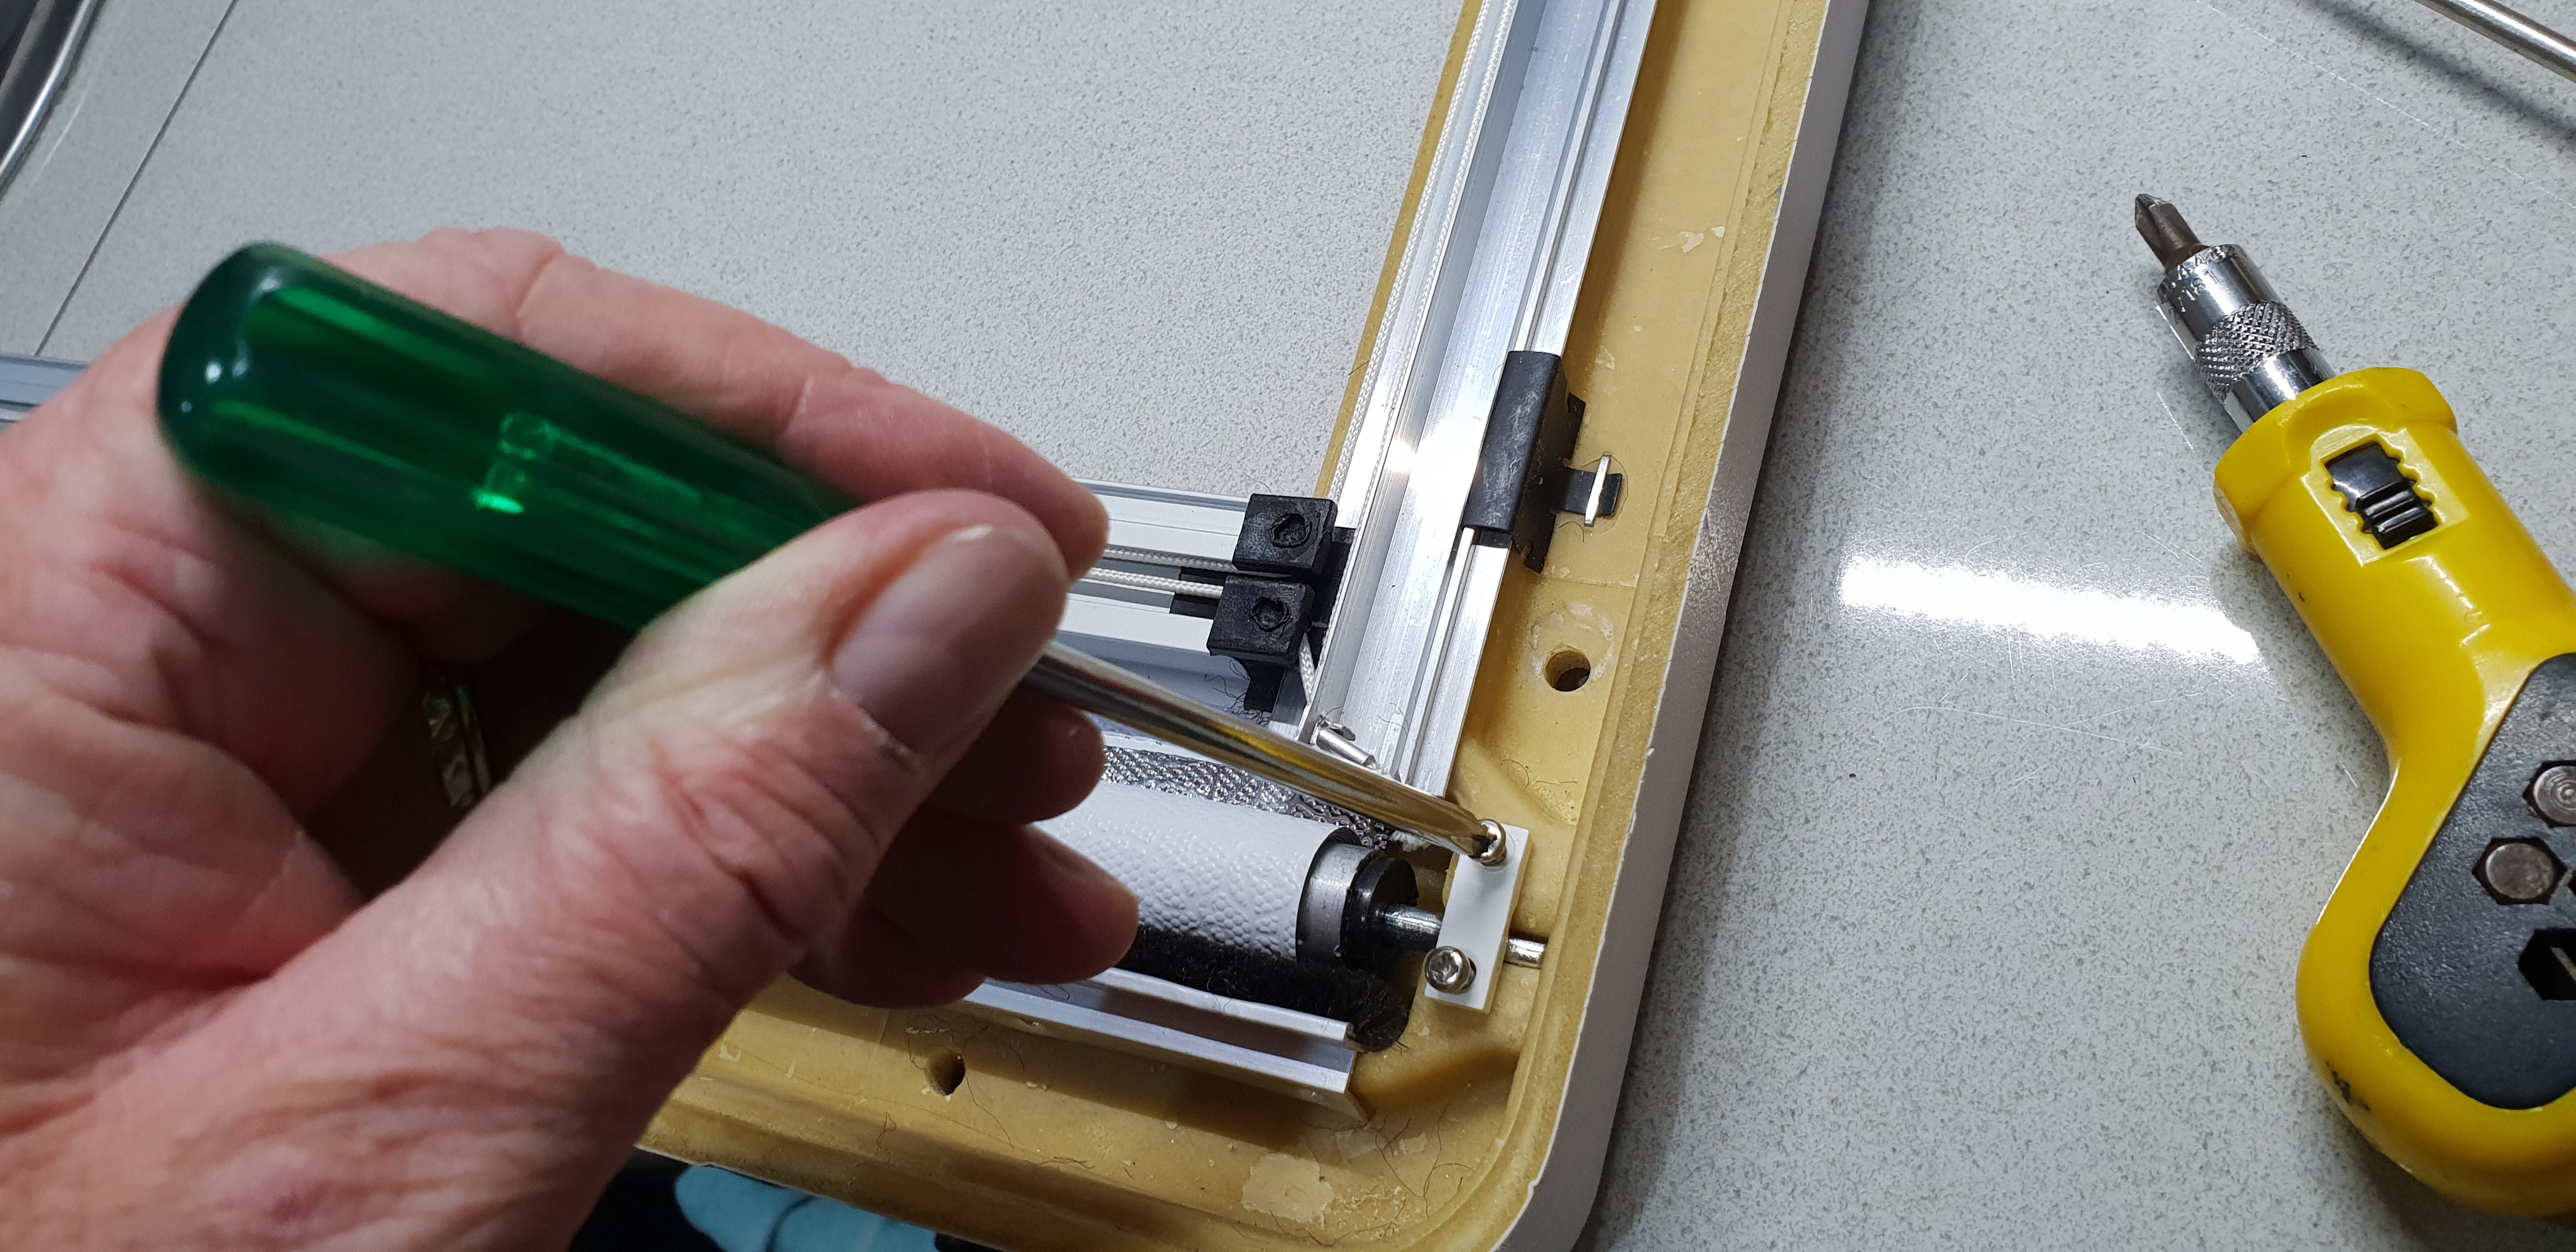
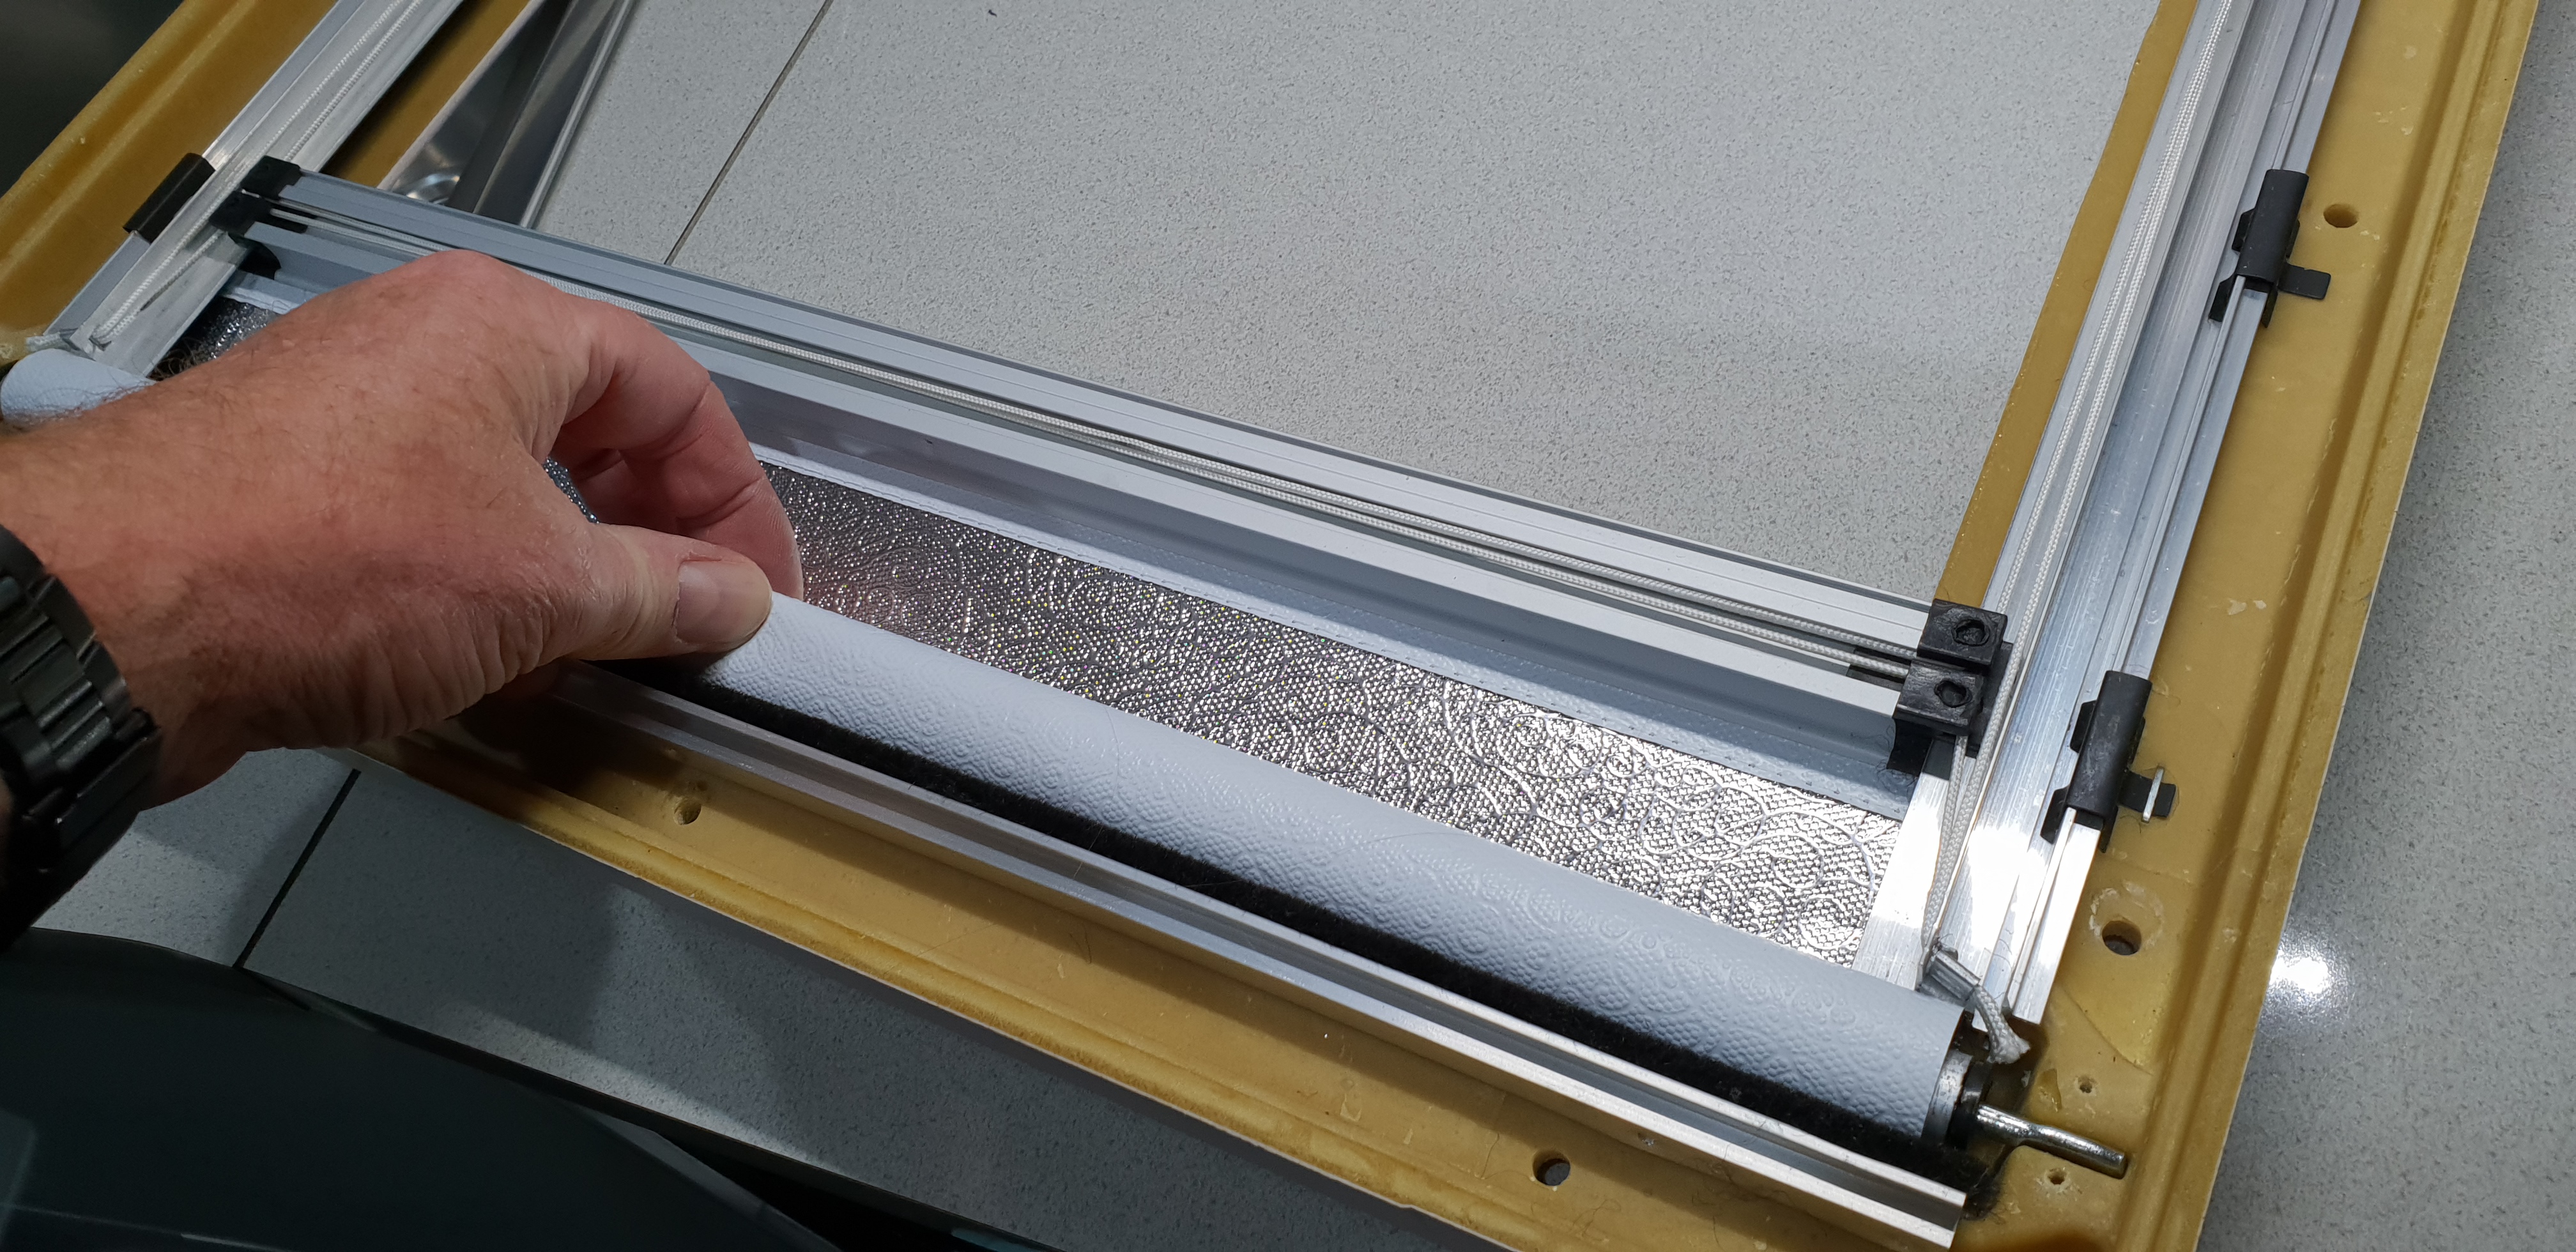
Step 3. Now, depending on what the problem is with your blind, there are 2 separate processes. If you have some tension in the blind but it doesn’t roll up completely, it will just need extra tension wound into the spring. If that’s the case, undo the small screws holding the roller in the frame at both ends of the roller and carefully lift the roller out of the housing ensuring the roller doesn’t suddenly unwind as there will be some tension in the system. Holding the right side metal end as it comes out of the housing is the best way to do this. You simply need to put a few extra turns in the spring to increase the tension. 2 or 3 turns in a clockwise direction should suffice. You can now skip to step 6 for reassembly.
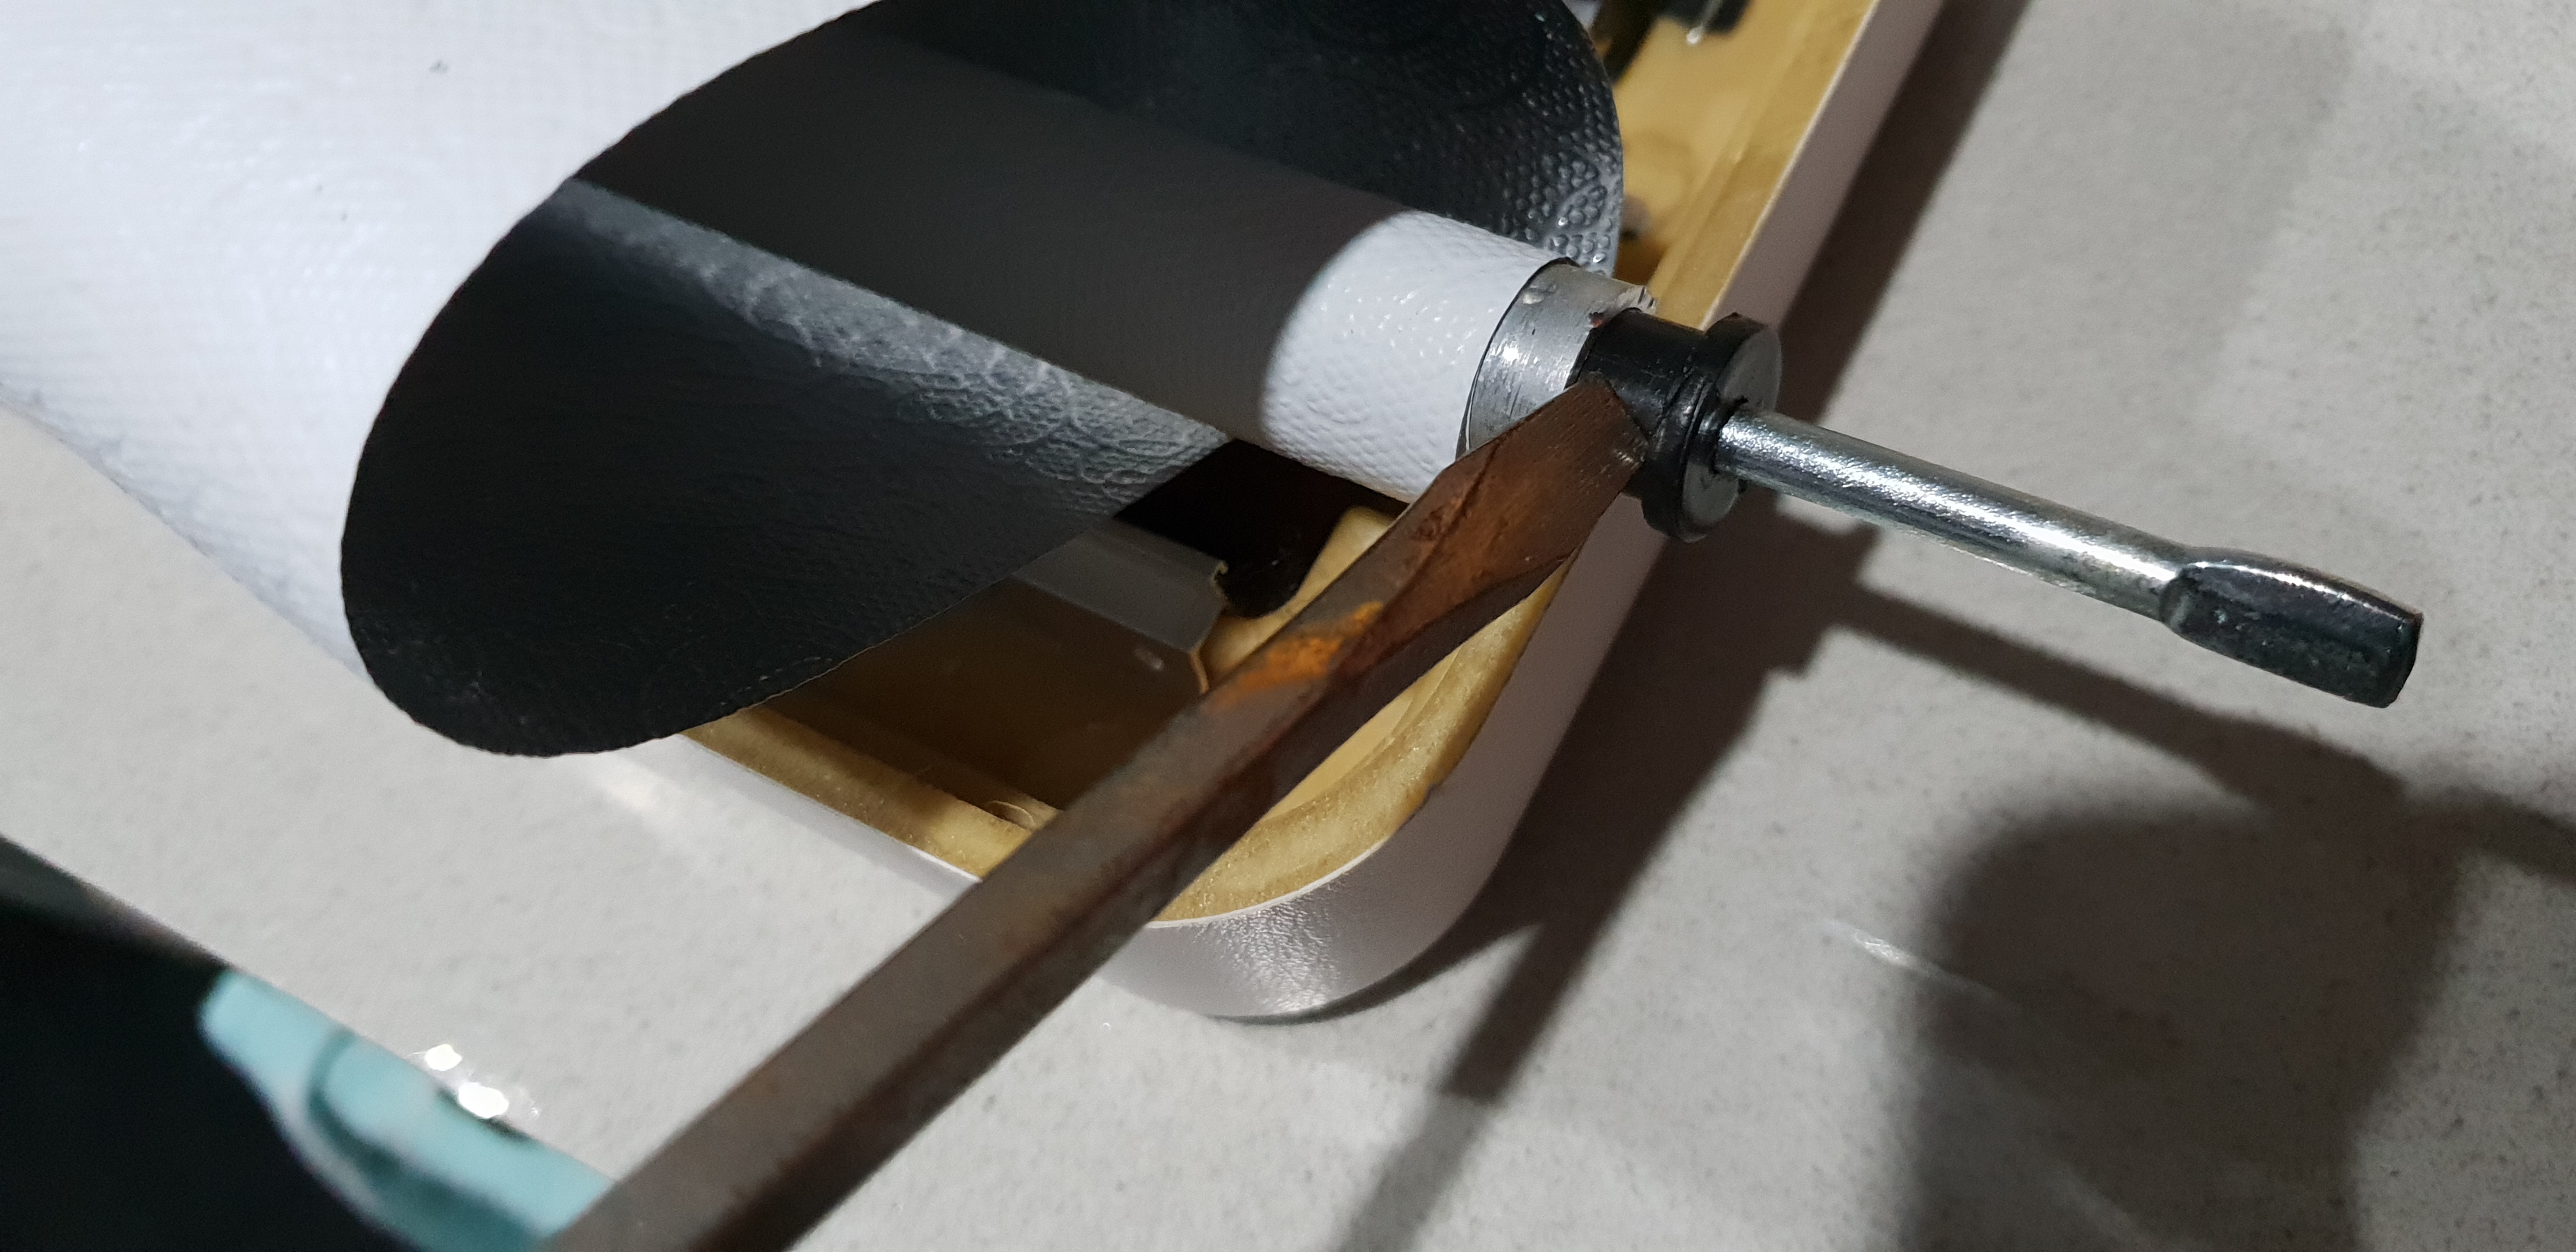
Step 4. If you have no tension in the roller at all and the blind has seized completely, you will need to expose the spring. Very carefully prise off the right hand plastic end of the roller using a flat head screwdriver. The spring will be inside the roller. Tip the roller to the right and the spring should fall into sight. You will see that it simply pushes back onto the black stopper. Ours went on fairly tightly and I don’t expect it to come off again but I think some sort of adhesive like a drop of super glue might help prevent this happening again.
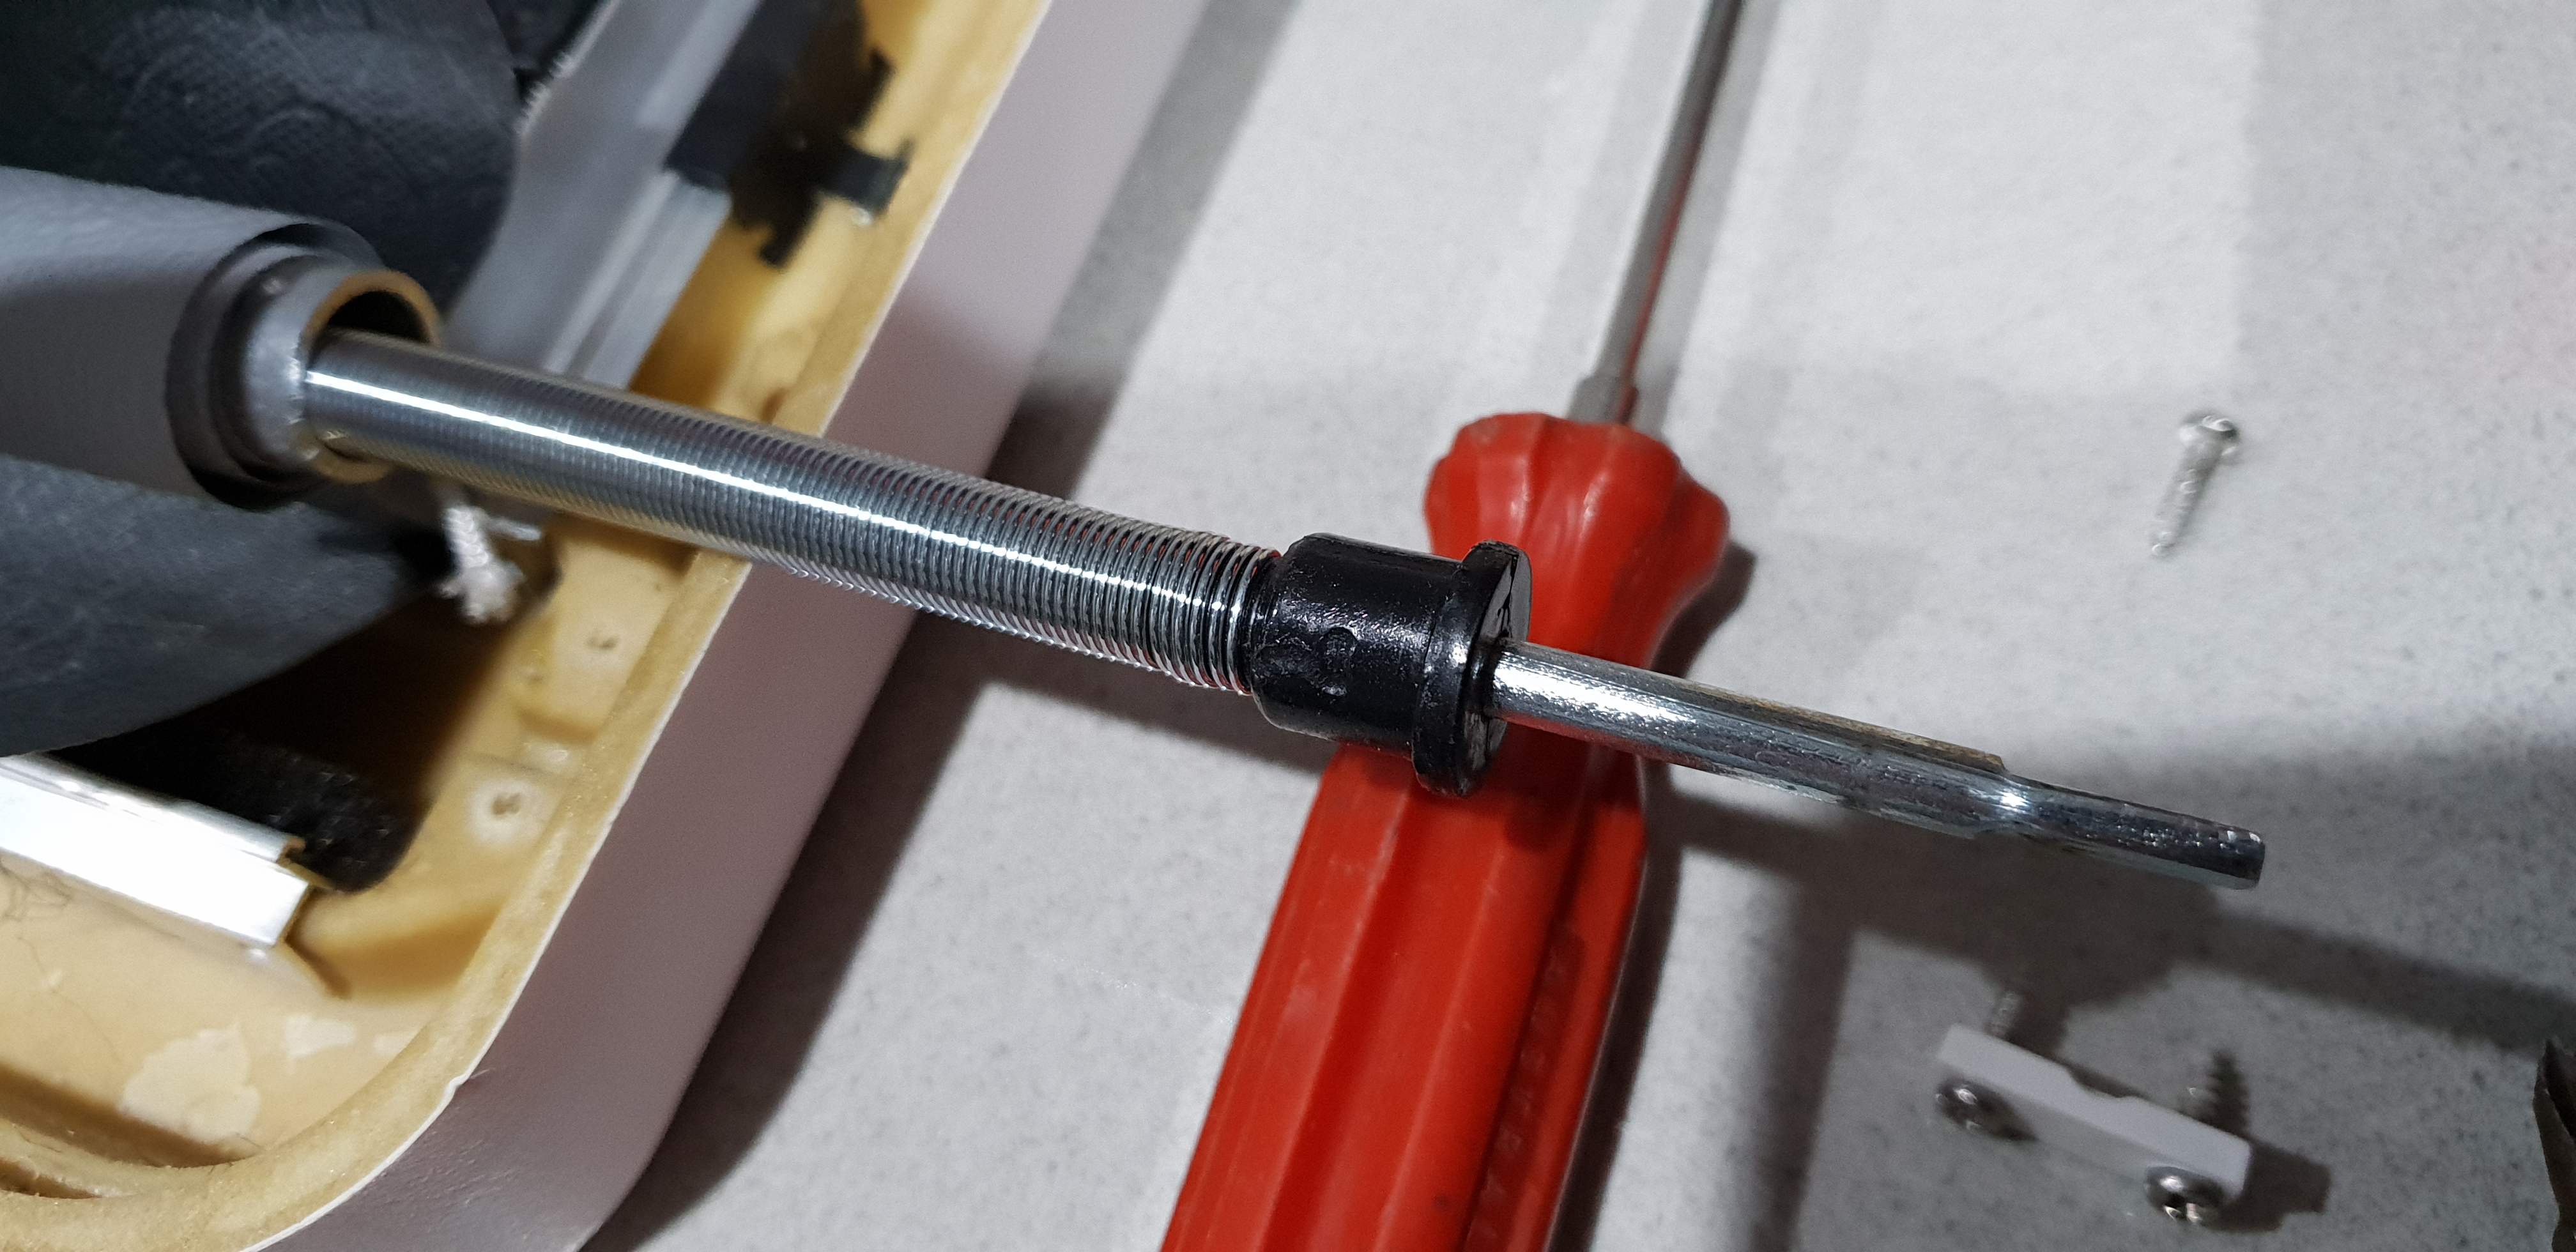
Step 5. Once the spring is secured back to the end tab, you need to push the tab back onto the roller. Again….you need to be careful how you do this. It’s almost impossible to do it with your fingers so you’ll need a tool to assist. I used the flat head screwdriver but I was conscious not to slip and stab myself or damage the roller. Gentle and slow is the key.
Step 6. Once the roller is back together, you’ll need to tension the roller. Roll up the whole the blind back onto the roller then, turn the metal tab at the right hand end of the roller in a clockwise direction until you feel it start to tension up. Turn it approximately 4 or 5 more turns and place the roller back into the frame ensuring you do not let go if the metal tab and release the tension. I found using flat head pliers to hold the tab while pressing the tab into the frame helped keep the tension.

Step 7. With the roller in the frame, replace the holding clips at both ends to secure the roller back in the frame.
Step 8. Now test the blind to ensure there is sufficient tension in the roller. It should slide up and down freely and roll up completely as you would expect. If it doesn’t, you may need to put a few extra turns in the metal tab to increase the tension. Do this carefully and add no more than 2 turns at a time.
Step 9. Once you’re happy with the operation of the blind, you can remount it to the window. Put in in place on the wall and put one of the top screws in place. Don’t tighten it up just yet as you may need to move the whole frame a bit to get all the remaining screws lined up with their corresponding holes. Screw them in part way and work randomly around the frame. Once you’re happy they have all seated correctly, tighten them all up. Don’t overtighten these screws as you can easily strip the holes. A quarter turn past finger tight should be sufficient.
Step 10. Your blind should now work perfectly. Replace the plastic tabs and you’re done. While you have the screwdriver in your hand, it’s a good idea to check all the other screws holding the gas strut and latches are tight as these have a habit of working lose over time.

That’s it. A very simple fix to a problem that anyone reasonably handy with a screwdriver should be able to do themselves. Certainly better and much cheaper than replacing the entire window.
Safe travels.
Wirless Trailer Interface

Caravan Repair Experts

Our New DJI Mavic Air Drone

SOG Vent System Install
