DIY Installation – SOG Ventilation System
There's no question one of the best innovations in caravans and motorhomes has been the built-in ensuite with your own toilet. Apart from not having to share toilet facilities with everyone at the caravan park, they mean you can say good bye to those late night dunny runs when nature calls. What’s more, when free camping, you don't have to squat in the bush where all the snakes and spiders crawl around or endure the ambiance of the drop dunnies.
But there is one drawback to RV toilets. The cartridge that holds your...ummm.....output....has a tendency to smell pretty bad especially in hot weather. It gets worse if you're a few days in between dump points. You can use all sorts of chemicals and deodorisers but, for many, opening that little flap can stink out the whole caravan. Fortunately there is a solution.
The SOG Toilet Ventilator has been around for as long as cassette toilets have. Its a simple concept. When you open the little flap in the toilet to do your business, it triggers a small fan to suck air back through the cassette and to the outside air preventing odours from escaping out of the toilet. While this sounds a bit gross for your neighbours, the vented air passes through a carbon filter, eliminating the odours. When you shut the flap, the fan turns off. It really is that simple. Best thing is the SOG System is a relatively simple DIY kit. But there are a few minor issues and, in this guide, we will alert you to the possible problems you may encounter.
For a start, the SOG System is manufactured in Germany and the translated instructions can be a bit confusing. Further, there are a number of different models depending on the type of toilet you have in your RV so finding an instructional video online for yours might be challenging.
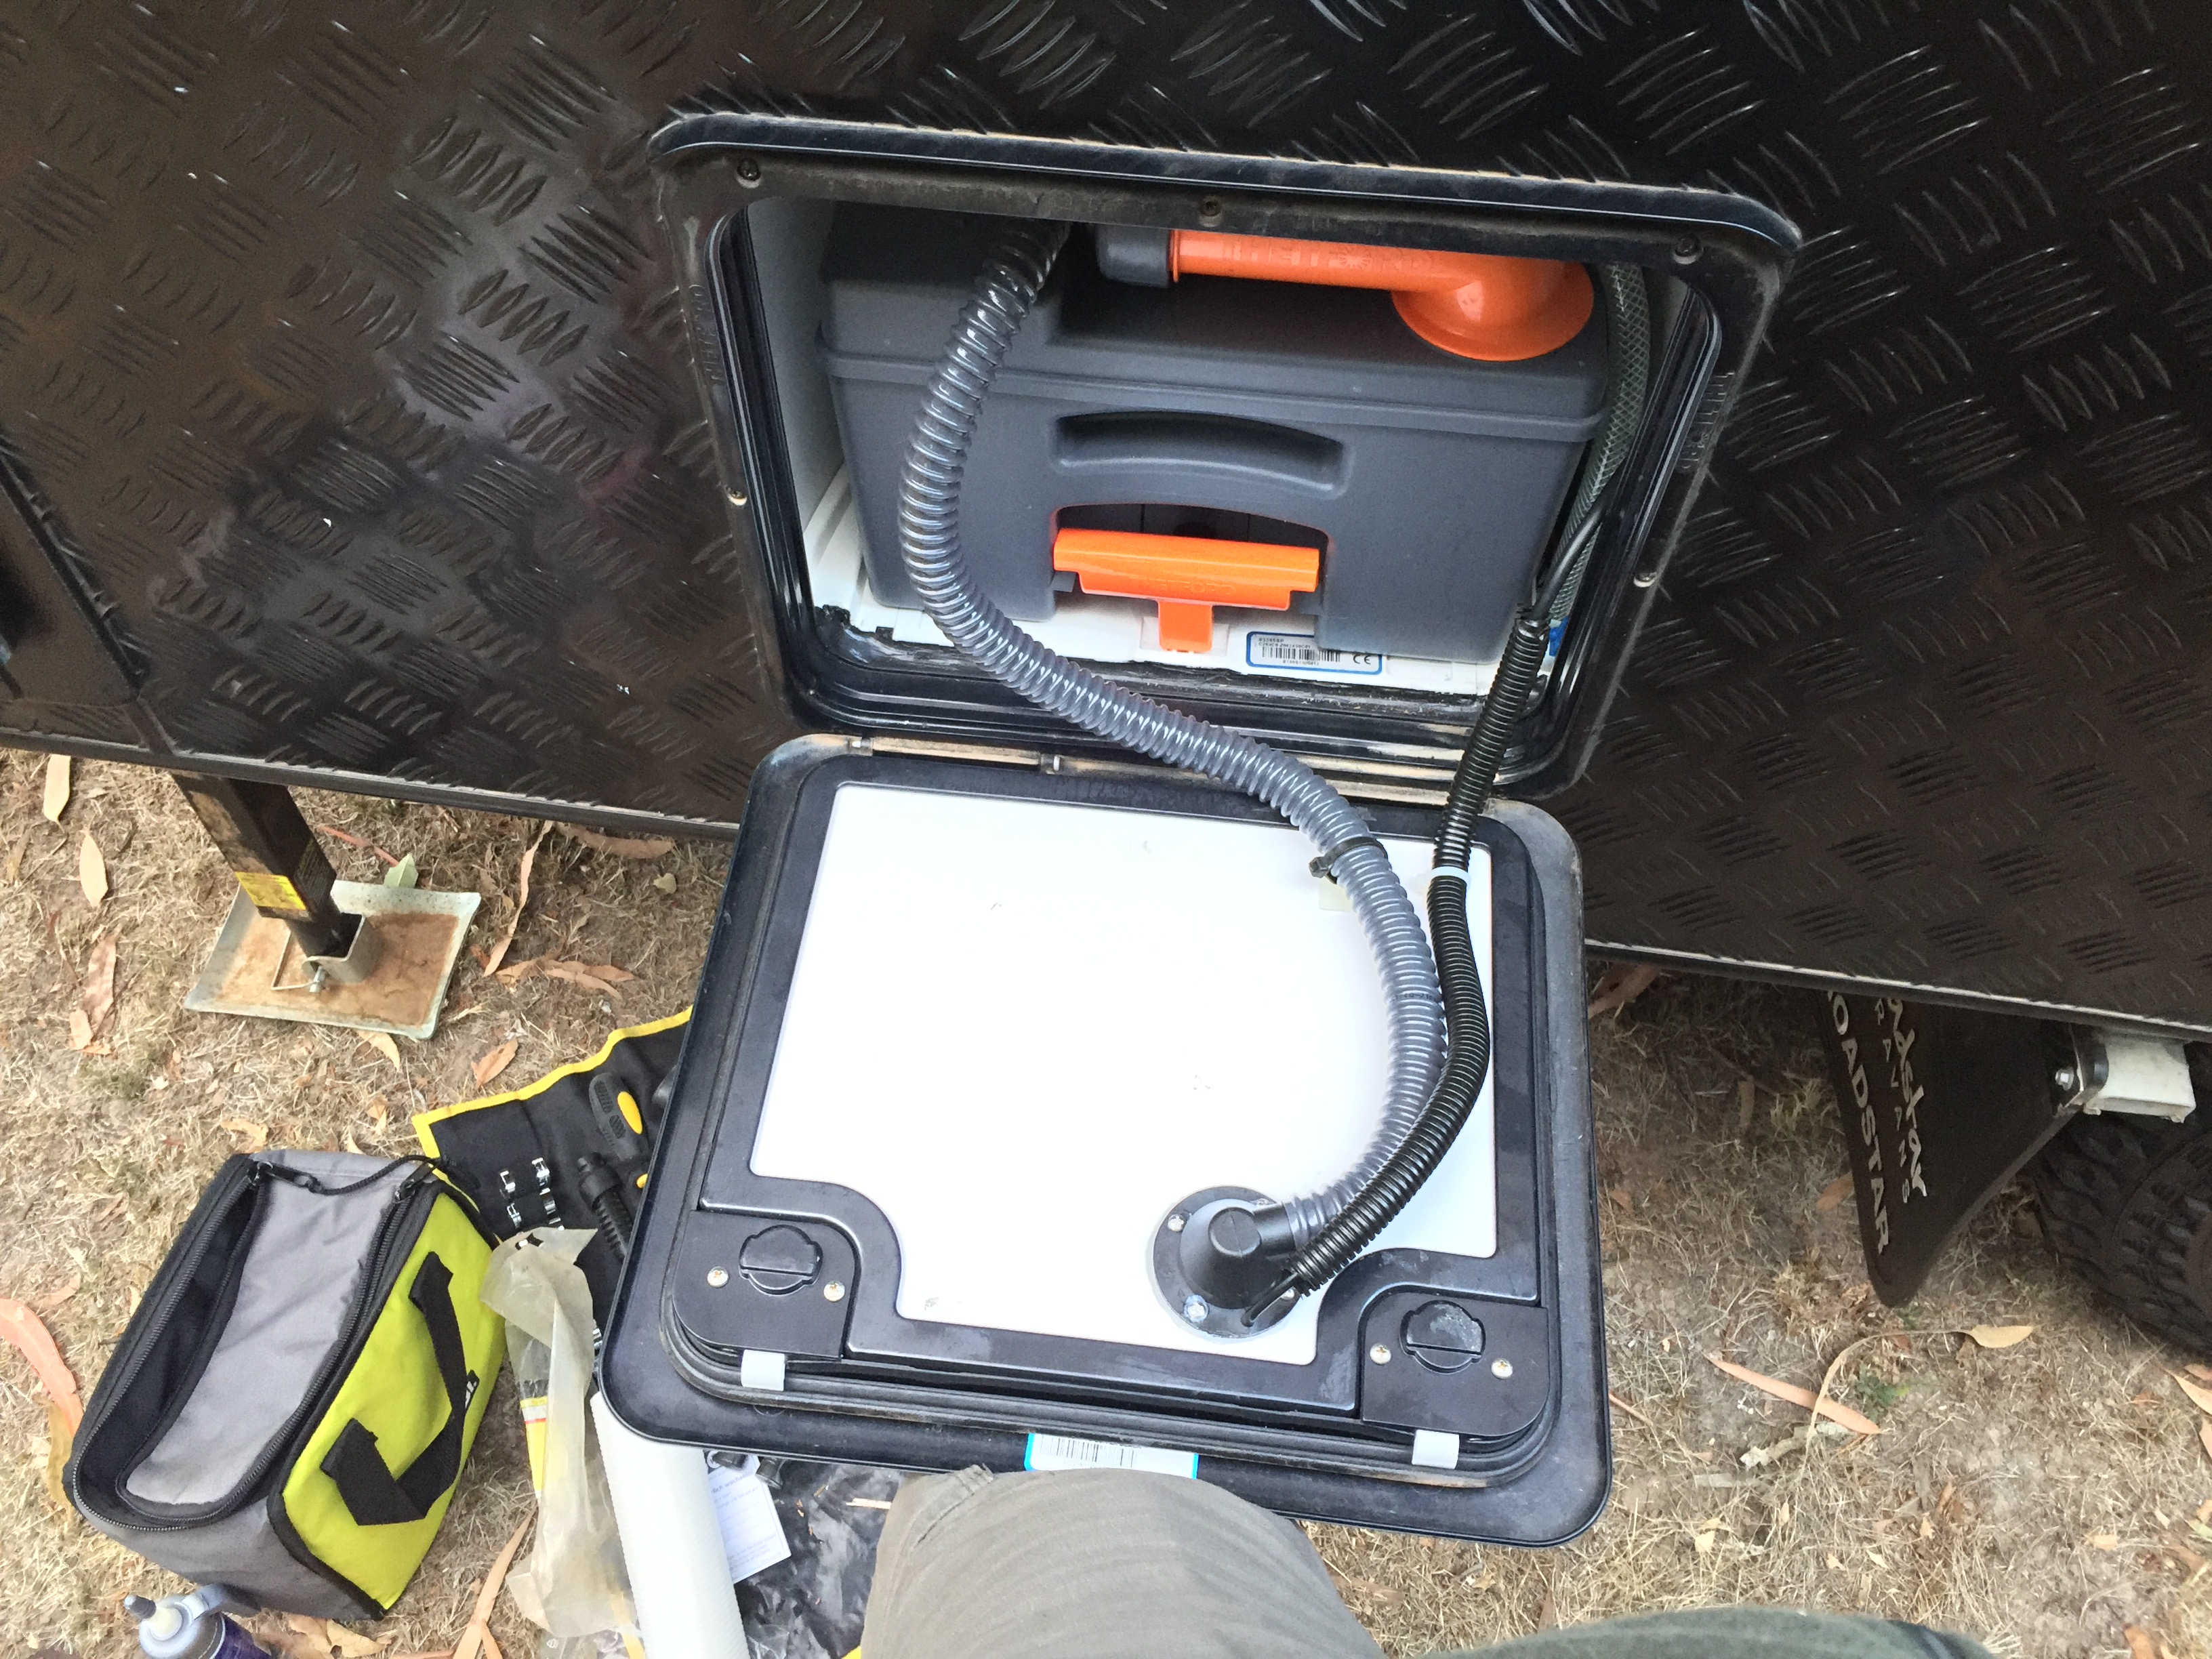
We have the Tetford C250 toilet in our Roadstar and this requires the Type F SOG kit. This DIY guide will feature this kit but many of the hints we have here will assist with most of the other kits as well as they all operate on much the same principle.
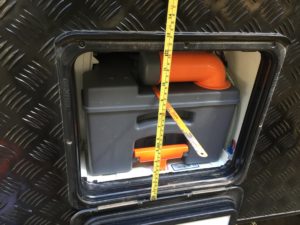
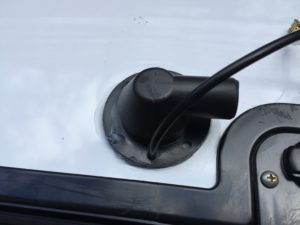
First step is to mount the ventilation fan. The instructions will show you how to mount the fan in such a way as to ensure sufficient clearance between the fan and the cartridge. Its probably a good idea to follow these instructions. Use the door hinge as the basis for your measurements. Because of the way our cartridge sits in the cavity, I wanted to ensure the ventilation hose had plenty of room to move so I mounted mine in the top right hand corner of the door. In hindsight, I could have used the position recommended in the instructions.
Another thing to consider is the type of door you have. Most are a double skin door with about an inch of insulating foam which the instructions cater for. Others are a single skin door and you will need to make a spacer on the inside to make sure the fan mounts in the right position.
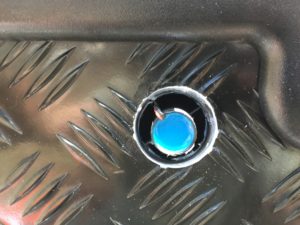

Before you drill out the hole, just make sure you have left sufficient clearance around the external vent to allow the cover to clip back onto the base.
The instructions tell you to use a 36-37mm hole saw to make the hole for the fan. Some people have found that this is a little too big and that a 32-35mm hole saw is better. I used a 37mm and it fitted perfectly. I drilled the front of the door first and my drill bit left a nice little bump on the inside skin to indicate where to drill the hole from the inside in exactly the right spot. Our hatch has an aluminium checker-plate outer skin and this needed a little tidying up to remove burs from the hole. Line the inside of the hole with a generous amount of silicon sealant as well as on the inside surface where the fan mounts. This is to prevent any odours escaping the ventilation system. Before you screw the fan in, just make sure the hose sits properly and fan doesn't foul with any part of the cartridge. When you're satisfied, screw the fan in place with the supplied screws but don't secure the hose onto the fan just yet. Leave that till the last step in the process. Remove any sealant that may have been caught inside the fan after inserting into the hole.
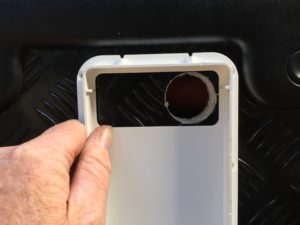
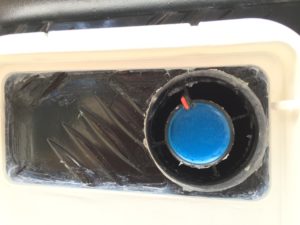
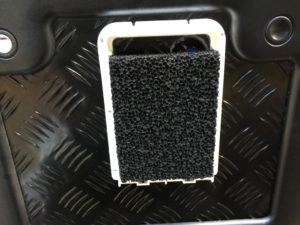
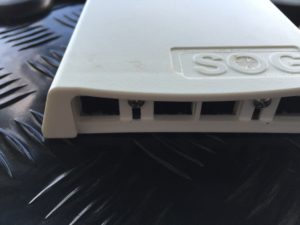
Next, place a generous amount of silicon sealant on the filter housing and screw it to the outer door. Again, because I had a checker-plate surface, I needed to ensure I used enough sealant to make an effective seal. Place the charcoal filter in place and attach the cover. It is held in place with 2 screws under the bottom edge of the filter housing.
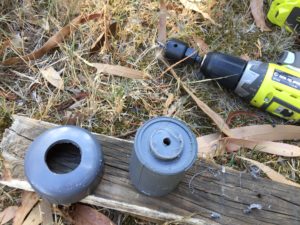
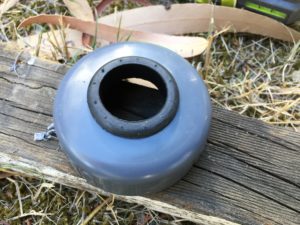
Next step is to make the hole on the filler cap of the cartridge. Note, not all systems require this step. Using a 32mm hole saw, make a hole in the centre of the cap using the small dent as a guide. The measuring cup inside the cap will become dislodged during this process. Just discard the cup. Next you need to insert the rubber grommet in the hole which is easy enough. The next part is to insert the plastic 'ferrule terminal' into the grommet and this is tricky. Its a VERY tight fit and you need to do this extremely carefully otherwise the grommet will dislodge and removing it to start again is a real pain in the arse. It might be worth trimming a half a millimetre off the hole in the cap just to ensure an easier fit. Lubricating the rubber will help as well.
Now comes the fiddly bit, mounting the activation switch and wiring in the electrical system for the fan. Now it looks complicated but with a bit of thought and care, its actually not that difficult.
Before you proceed with this, turn off your van's 12v electrical system. Most vans will have a switch to isolate the 12v system from the house batteries. This is to prevent an unintended short circuit of the system. This can burn out the small switch or, worse, damage the toilet flush pump.
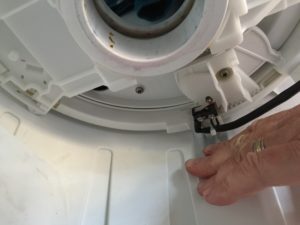
With the cartridge removed, have a look at the mechanism on the top of the cavity and have another person operate the flap from inside the van. This will show you how the mechanism for the toilet flap works and you'll see exactly where the switch needs to be placed. The switch is activated when the flap is open. When you've determined this location (see the pic below) clean the wall of the cavity with methylated spirits, peel off the backing from the double sided tape on the switch bracket and press it into position ensuring the top of the bracket as as high in the area as it can go. Test the flap mechanism to ensure the switch is in the right spot and activates properly. Once you're happy with the location, secure the bracket into place using the small black screw supplied.
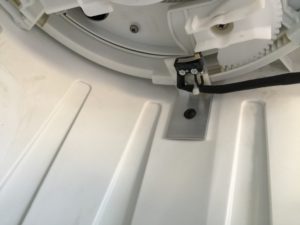
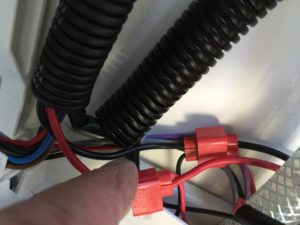
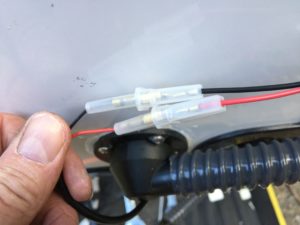
Its then a simple matter to use the red cable connectors to connect the power cables to the corresponding wires located on the right hand side of the cavity. I used wire ties and plastic conduit to neaten up the excess wiring inside the cavity. I also shortened the wires going to the fan ensuring sufficient free play for the door to open fully. It goes without saying to make sure you connect the red wires to red wires and black wires to black. Use the supplied plastic tabs and wire ties to neaten up the wiring and ensure its all tucks away neatly when the door shuts and the cartridge is in place. Before putting the cartridge back in, test the fan by turning the 12v system back on and opening and closing the toilet flap.
The final step is one that isn't well explained in the instructions. You have to remove the plastic insertion plate in the bottom of the cartridge cavity. Call me thick but, for some reason, it wasn't immediately obvious what this part of the instructions was referring to. Its a cover that sits on the bottom of the cavity floor and it has a raised section that activates a vent on the cartridge when it is inserted into the cavity. Removing this cover prevents this vent from opening and this is necessary for the proper operation of the SOG system. After removing this plate, store it in a safe place.
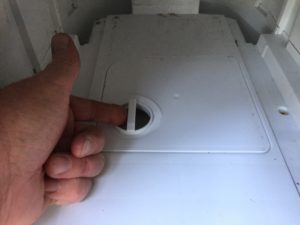
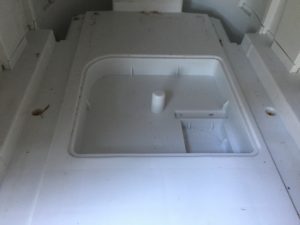
The only remaining step is to ensure the door closes properly with the cartridge in place. You may need to trim the ventilation hose to suit. Once you've got the right length, soften the end of the hose with hot water to get it to fit over the fan outlet. I didn't need to trim off any of ours as it sat neatly between the cartridge and the access door when shut.
And that's all there is to it. The only final touch I will make is to paint the filter cover black to match the rest of the checker-plate. The filter needs to be replaced every 12 months and the kit includes a label to write the next replacement date as a reminder.
I've heard people who have installed this system have been able stop to using chemicals in their cartridges. We will be giving the system a pretty good run when we head off on our trip so we will experiment with it to see what works best.
Safe travels.


