Install BOS Stabiliser Legs
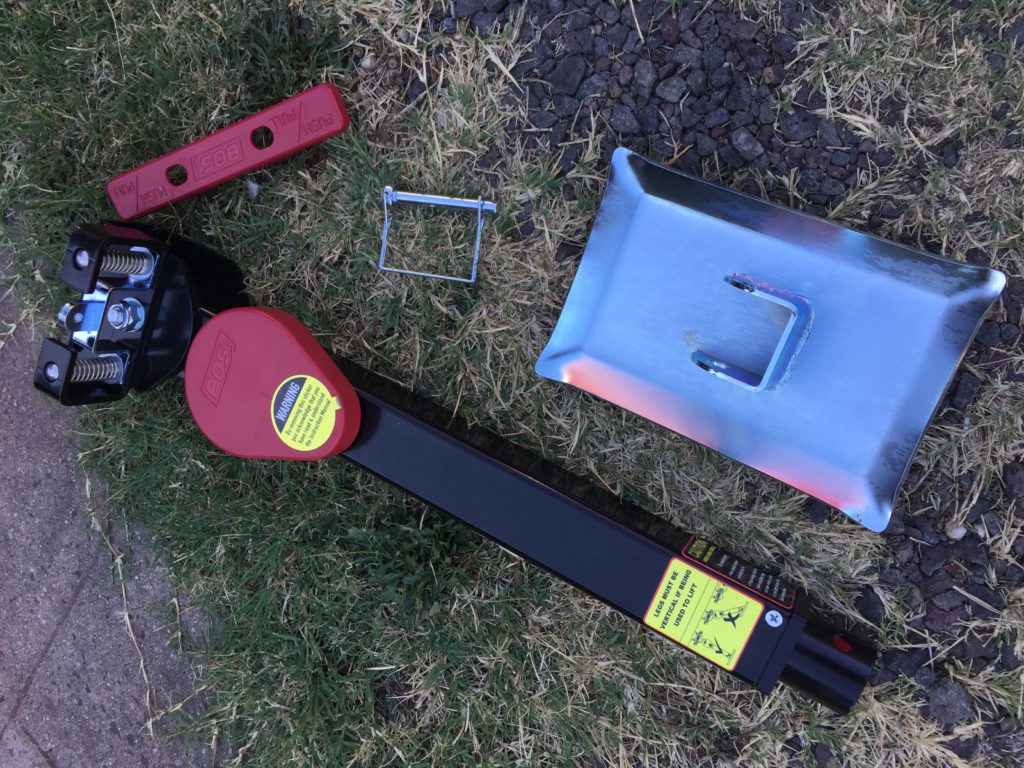
We recently purchased a set of BOS Stabiliser Legs for our Roadstar Safari Tamer caravan. We had two major reasons for this. One was to eliminate the need for carrying a heavy bottle jack and the other was to make set up on uneven sites easier. The BOS legs fulfilled these needs perfectly. They are a DIY installation and a very easy one at that. Here we show you how to do the job yourself in less than an hour.
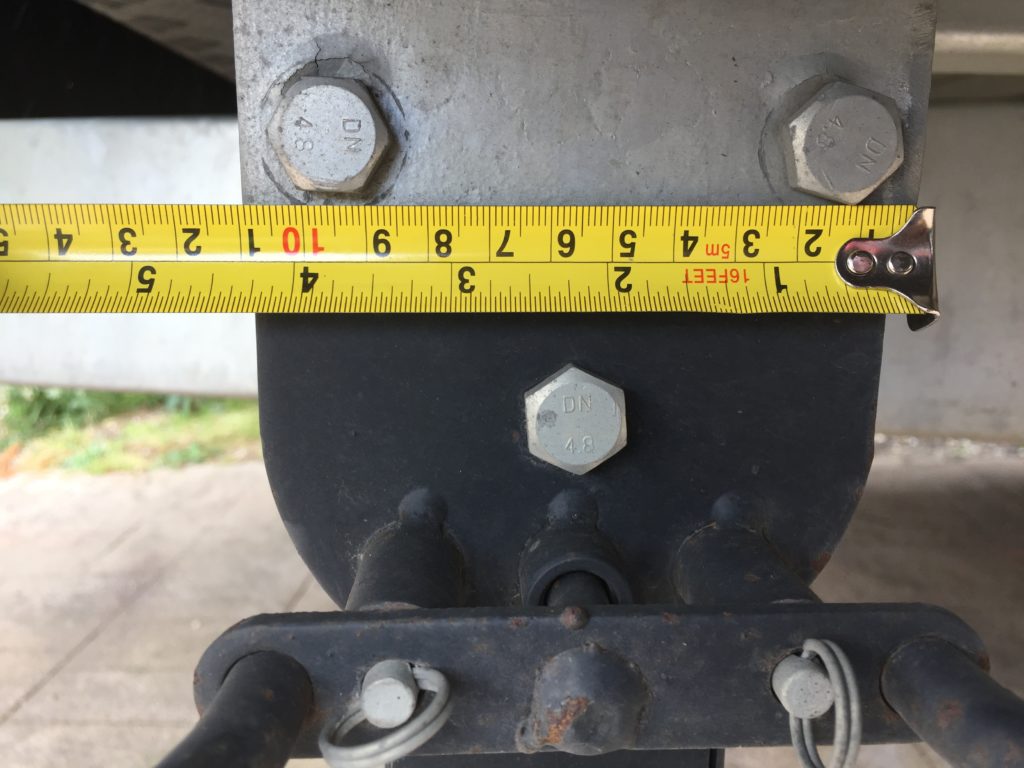
The first thing to do is to measure the length of the existing legs on your van in order to determine the corresponding replacement unit from BOS. They come in 3 sizes; 400mm, 500mm and 600mm. They also have extensions available if needed. You also need to measure the mounting points to ensure you haven’t got some weird stands that don’t use the standard fixing.
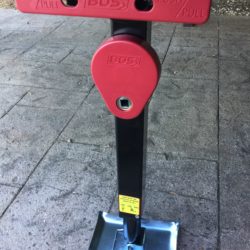
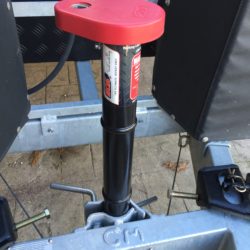
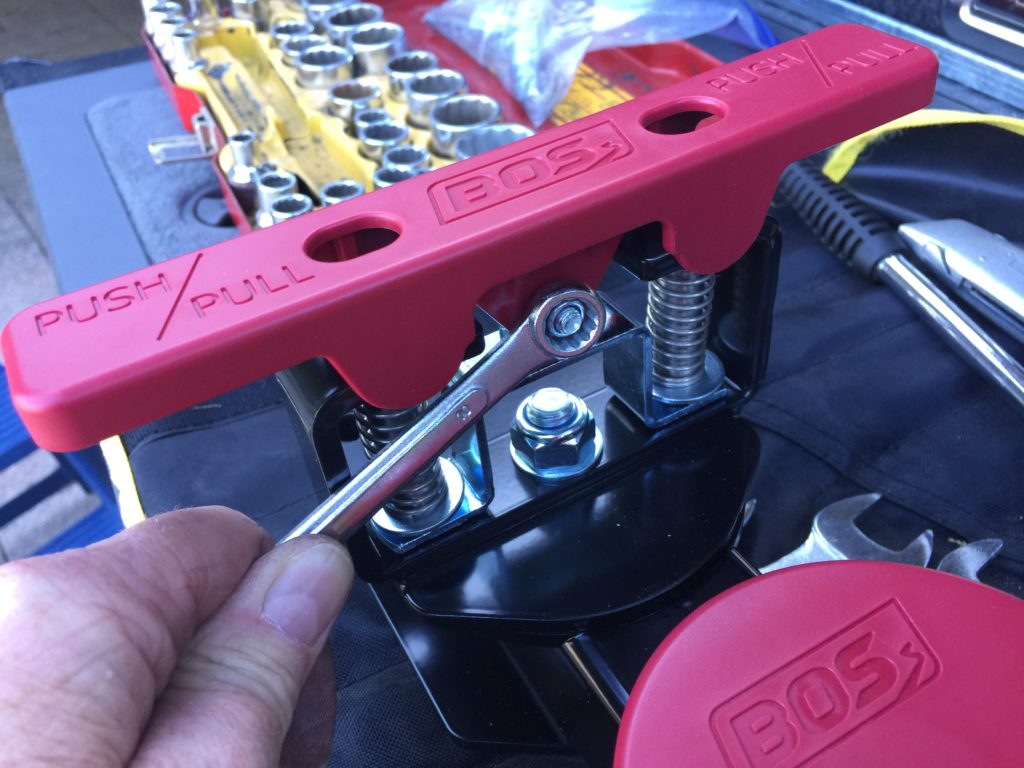
Once you’ve determined what legs you need and received your order, you need to assemble the legs. This is very easy and all that is required is a small socket set to attach the handle. Simply undo the small nylock, place the handle in its mount and tighten the nylock. The rest of the legs simply attach together using the locking pin supplied.
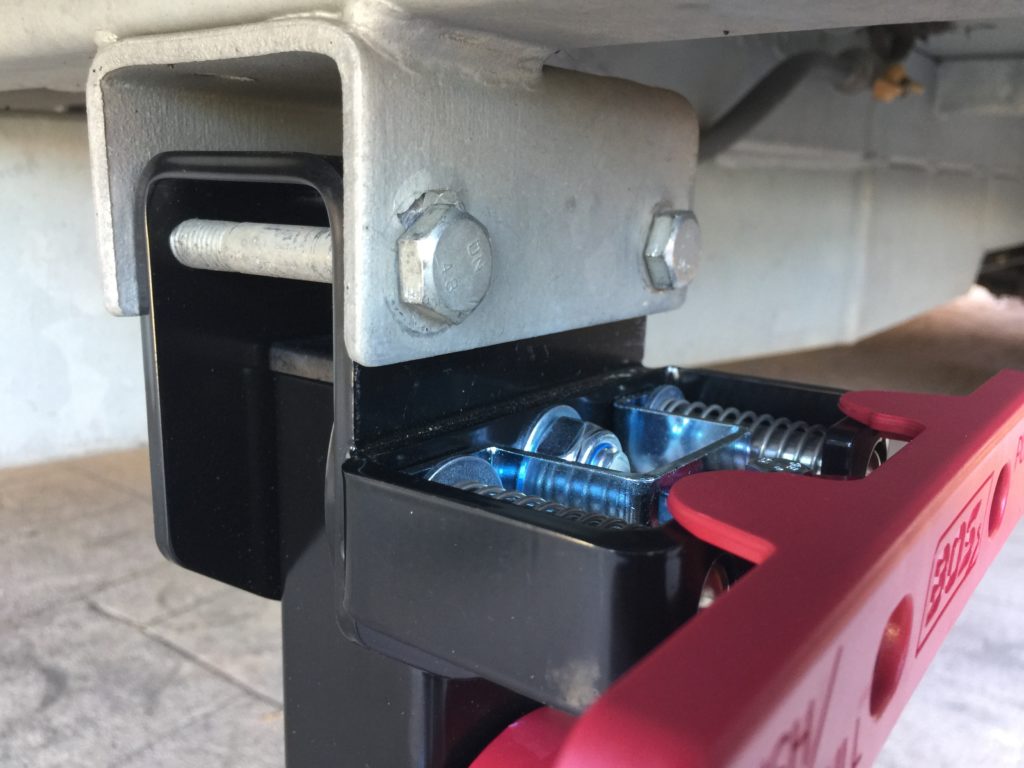
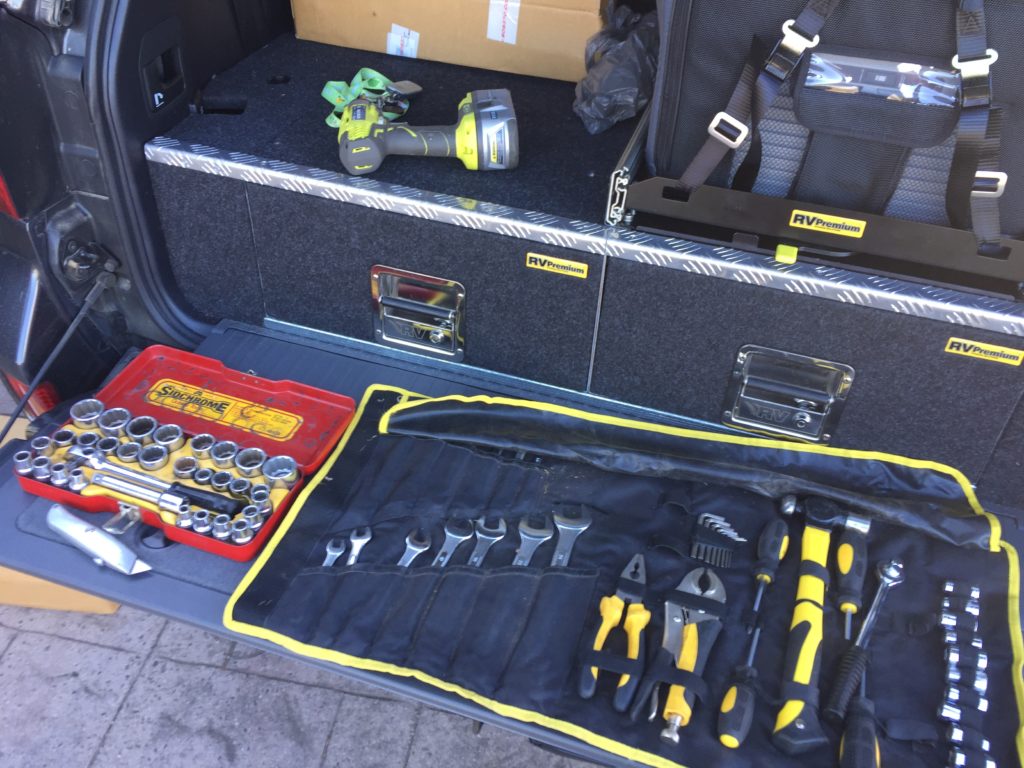
Next you need to remove your existing legs. These will likely be attached by 2 bolts and locking nuts, or nylocks. A larger set of sockets will be required. If the manufacturer used nylocks, they should be easy to remove. If standard bolts were used, they may require some effort to undo. Ours were nylocks so I had no problems at all. You’ll need 2 sockets, one to hold the bolt head in place while undoing the nut with the other. When undoing the last bolt, you may find it easier to support the leg to take the weight off the bolts. This should make them slide out easily.
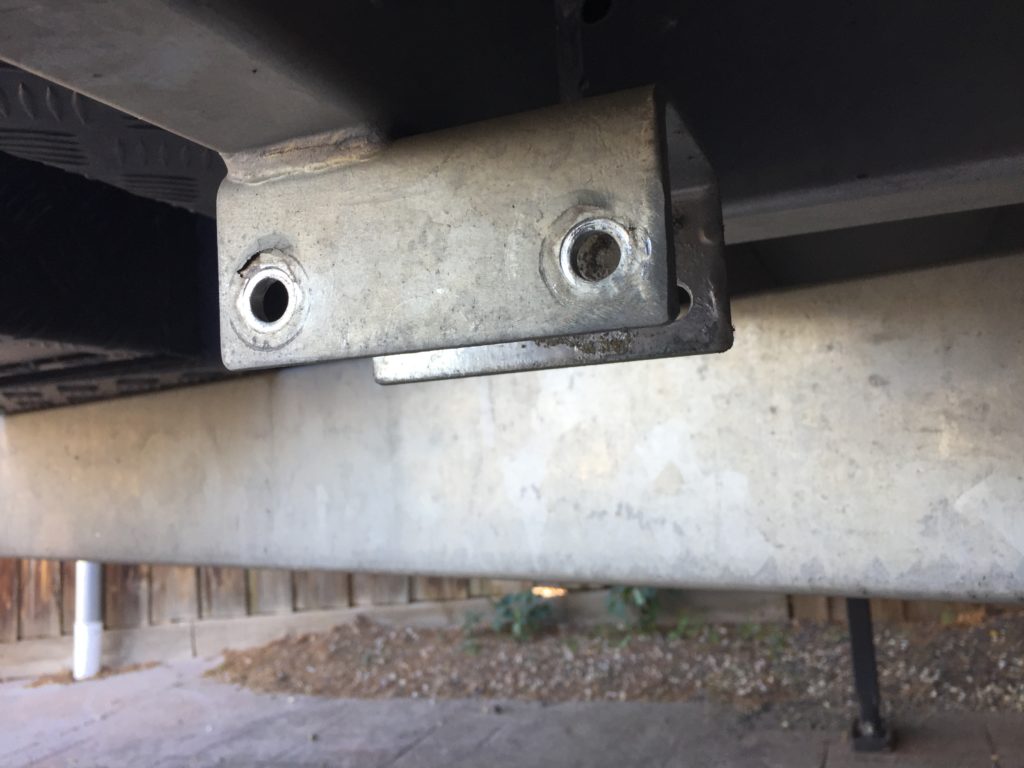
Next it is a simple matter of putting the BOS legs in the same mount and replacing and tightening the mounting bolts in reverse to the above. Again, support the weight of the legs when inserting the bolts as they may be a bit difficult to insert. Once the bolts are through, tighten the nuts juts enough to ensure they are secure. Do not overtighten them as too much torque can damage the threads.
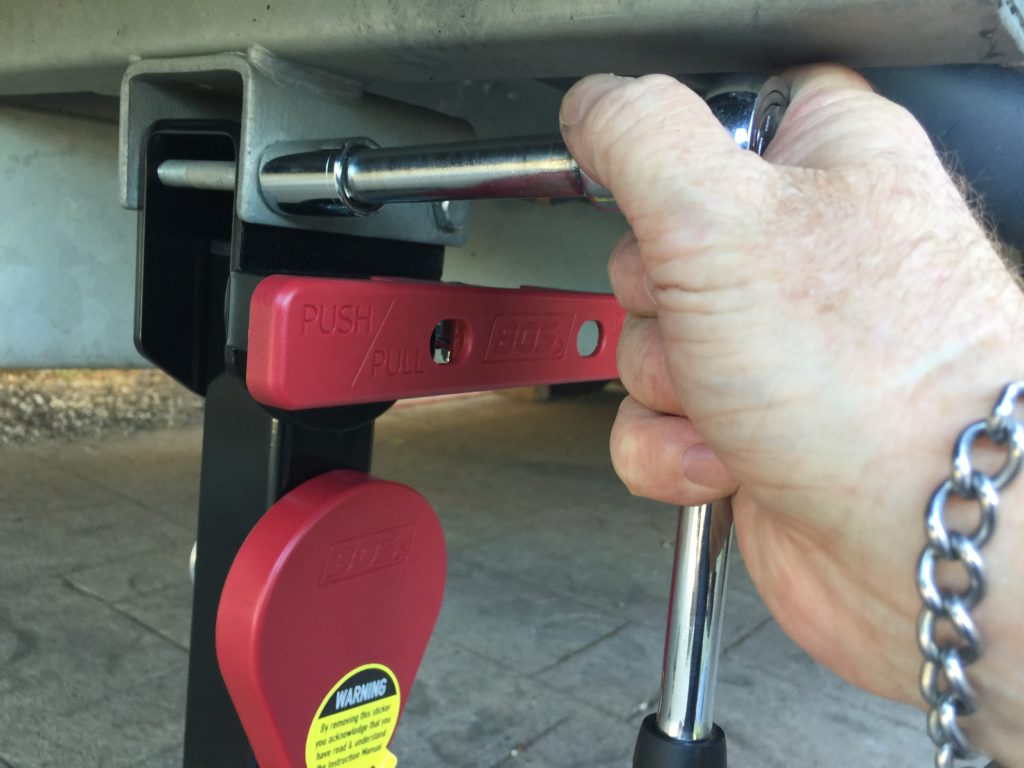
That’s it. Job done. All that's left is to remove the warning lable covering the drive shaft.
A very easy installation that can make life in your caravan so much easier.
